Lab 2: Create a digital-twin with containerlab
Part 3. Deploy containerlab topology
Configure startup-config location for containerlab
1. Navigate back to Nautobot

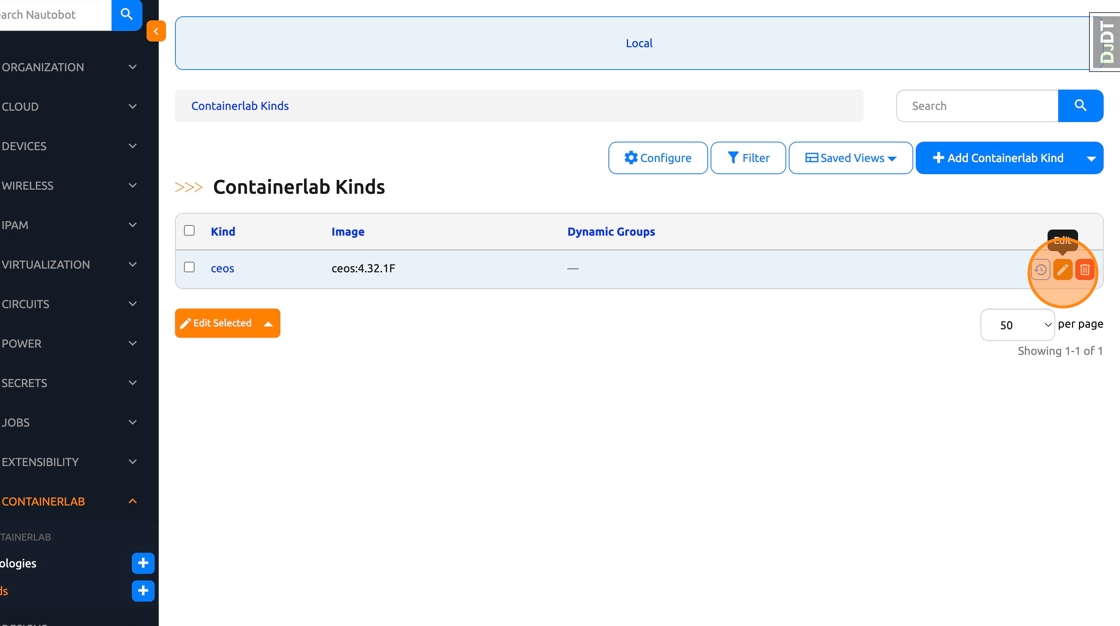
2. Click “Containerlab -> Kinds”
3. Click the edit button next to “ceos”
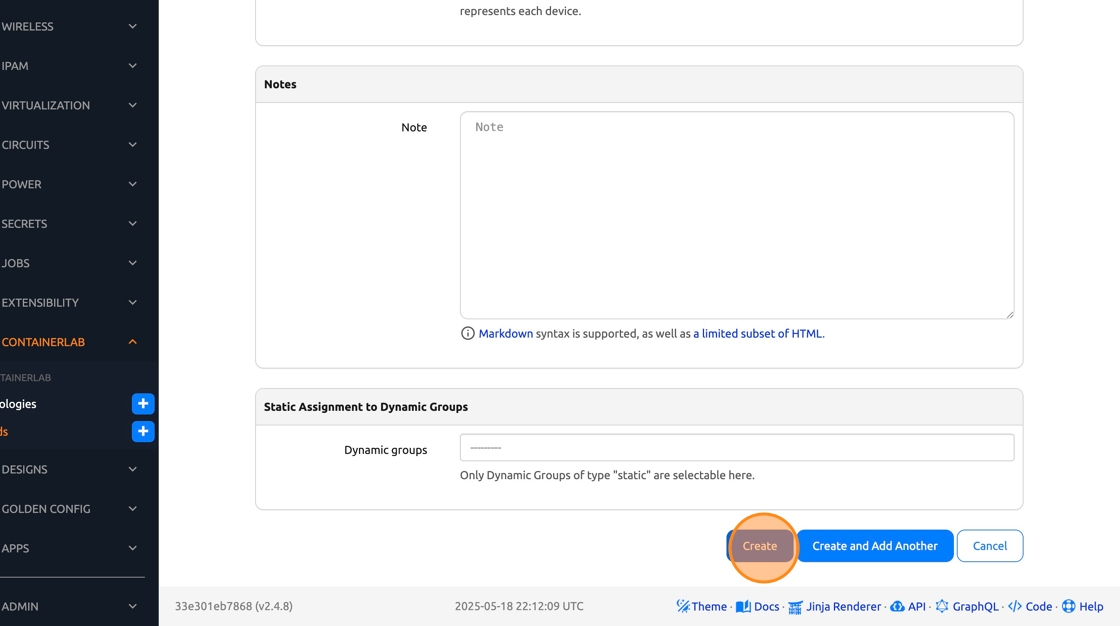
4. Click the “Node extras” field
5. Let’s have it pull the startup config files from our repo hosted in GitHub. Replace YOUR_GITHUB_USERNAME with your username and then paste this into the textbox.
{"startup-config": "https://raw.githubusercontent.com/YOUR_GITHUB_USERNAME/onug2025-design-workshop/refs/heads/main/gc_intended/{{obj.name}}.cfg"}

6. Click “Create”
Verify startup-config URL
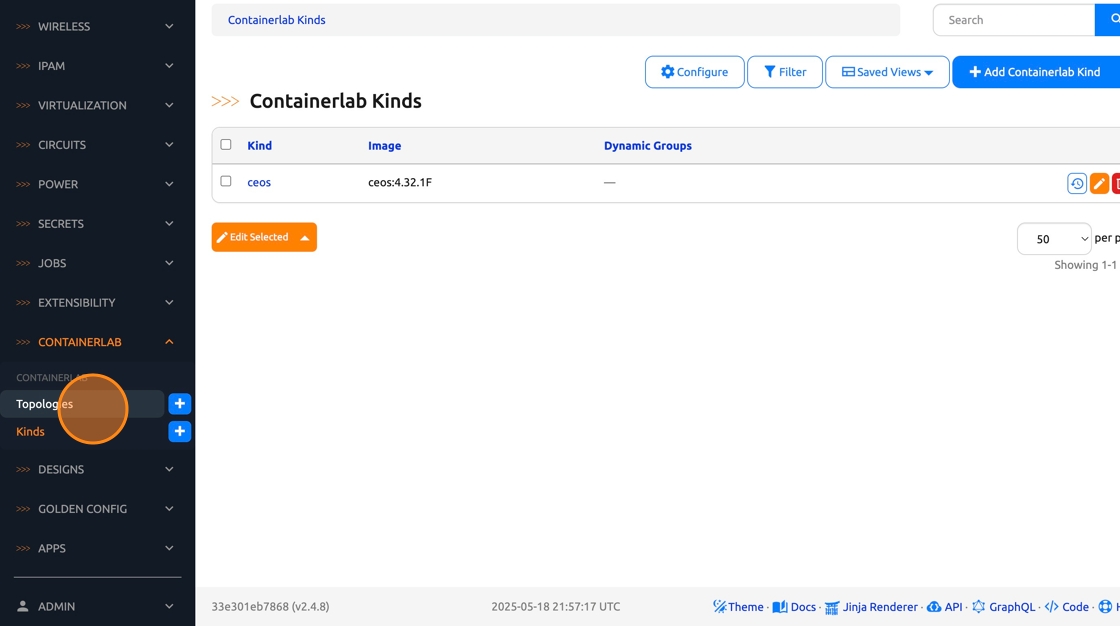
7. Click “Topologies”
8. Click “ONUG”

9. Select and copy one of the URLs to a startup-config in the “Topology File” panel

10. Right click the URL and then click “Open Link in New Tab”

11. Verify that the link open the config file as expected

Deploy containerlab topology
12. Back in Nautobot, Click on the Containerlab Actions button in the top right

13. Click “Deploy Topology”

14. Click “Confirm”

15. Deployment of the topology should take about two minutes.
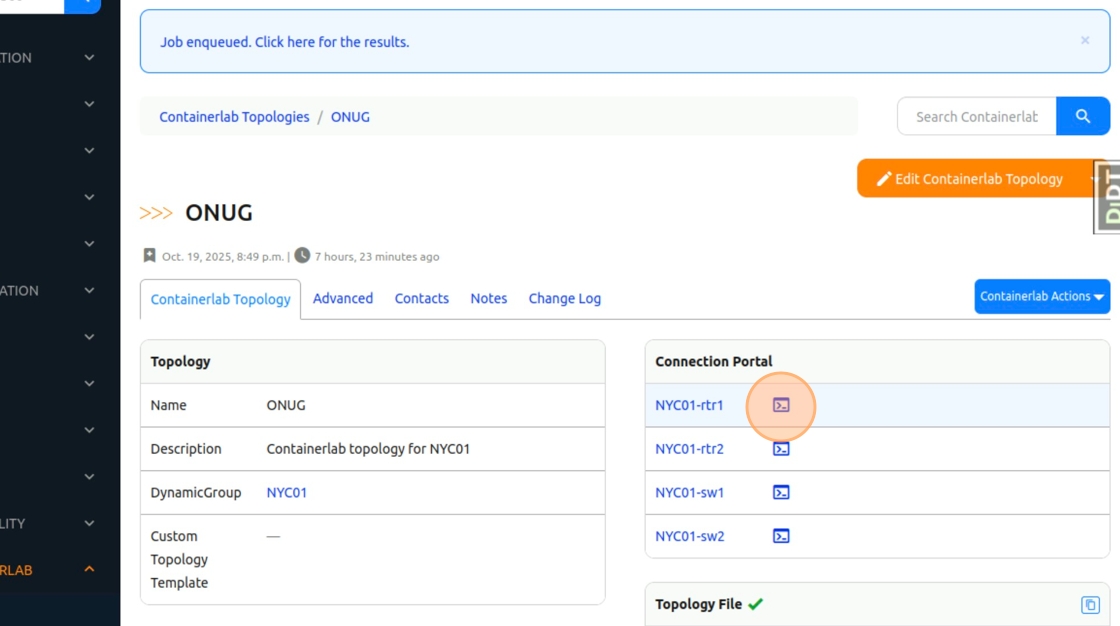
16. After a few minutes, you can click on the CLI button next to the nodes names in the “Connection Portal”. This will open up an SSH connection to the device in our browser.
17. Login to the device using admin\admin and validate that the configuration matches the intended config we generated.
enable
show run
show interface status
show lldp neighbors

Conclusion
You have successfully used Nautobot to deploy a digital twin of a site in ContainerLab and bootstrapped the startup config from intended configs generated by Golden Config!
Wasn’t that so much more fun than applying those configs manually? We now have a full digital twin generated from our Network Source of Truth. We can use this lab environment to test our config changes prior to pushing them to their prod counterparts.
Up next is exploring how we can use the NUTS (Network Unit Test System) to validate config changes!
| ⬅️ Previous | 🏠 Home | Next ➡️ |