Lab 2: Create a digital-twin with containerlab
Part 2. Prep the Intent Data for Deployment
When we ran design builder in the first lab we also generated the intent data for the devices at our new site. Now we can use that intent data to generate our intended configurations and our ContainerLab topologies for testing. First, we need to setup our Golden Config settings and then we can render the intended configs.
Golden Config settings
1. Navigate back to Nautobot
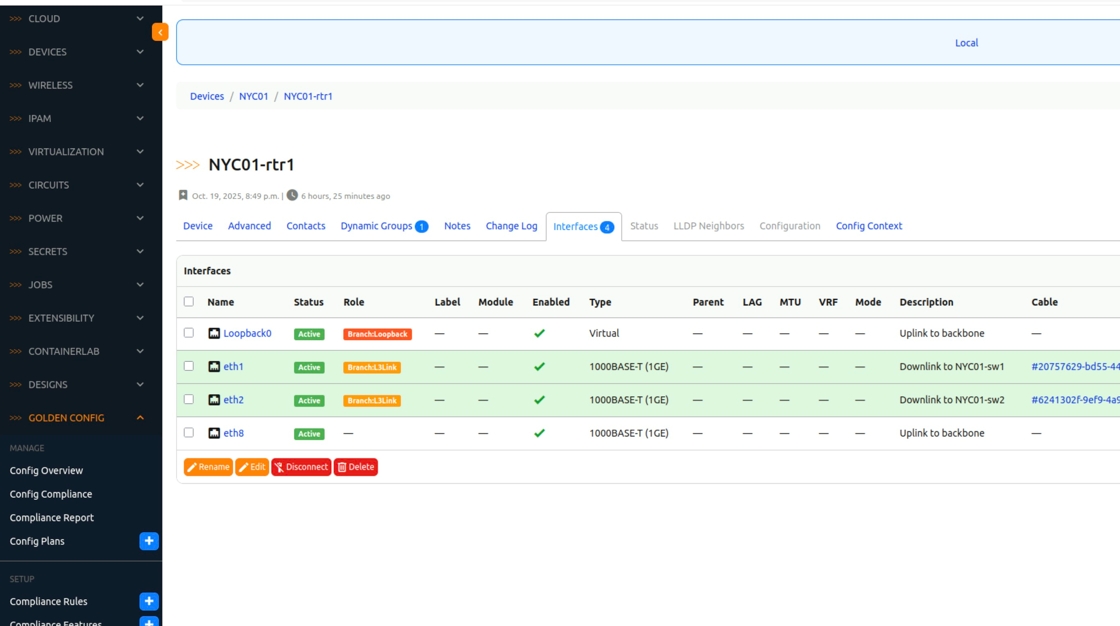
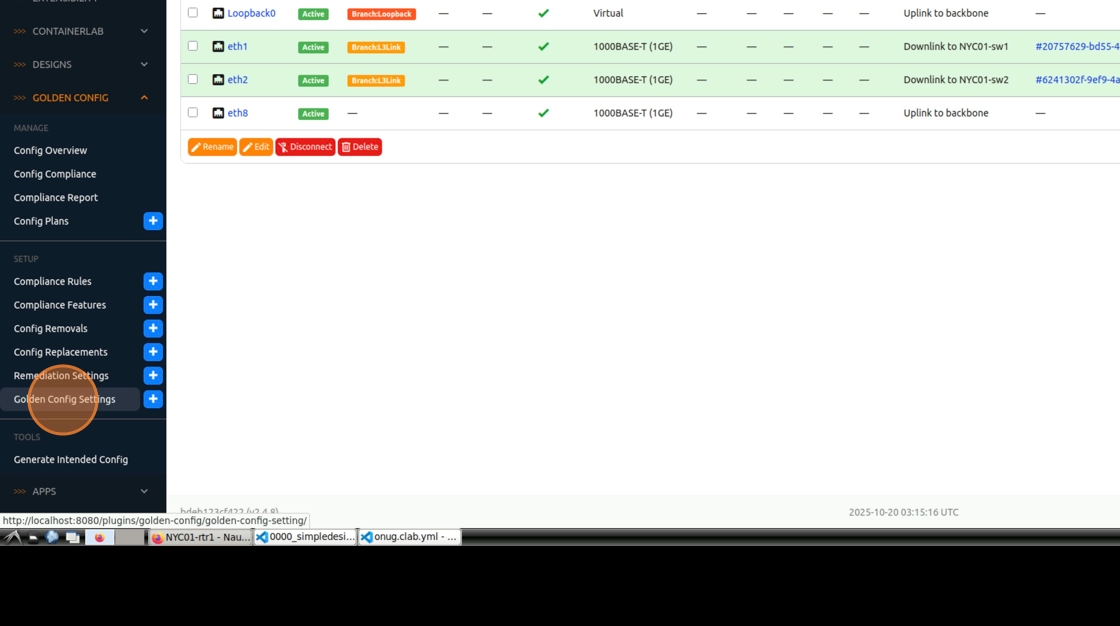
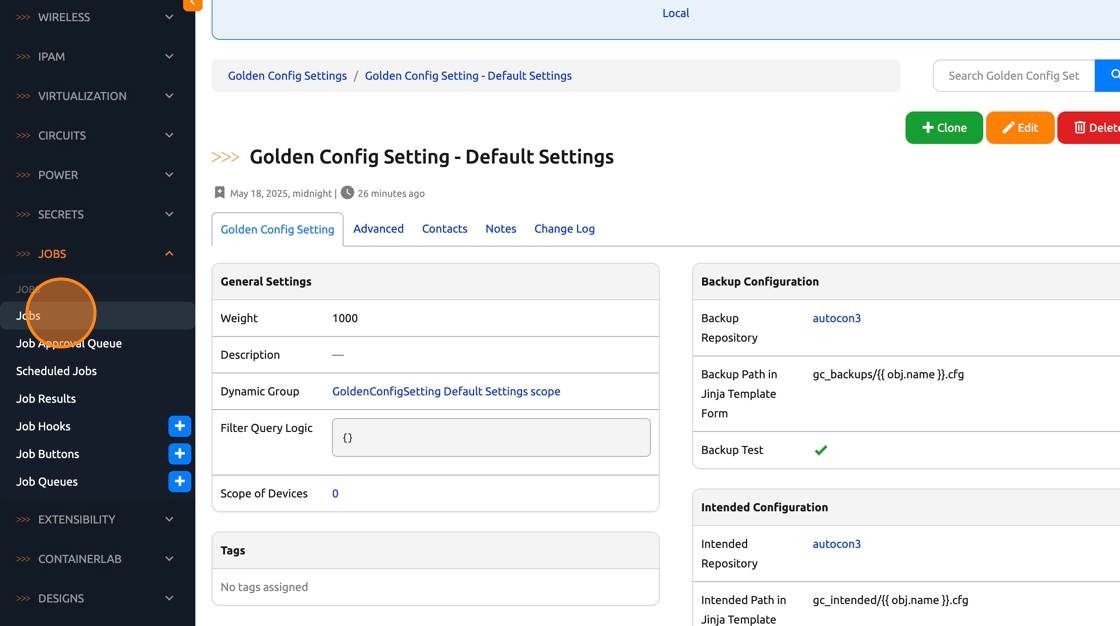
2. Click “Golden Config -> Golden Config Settings”
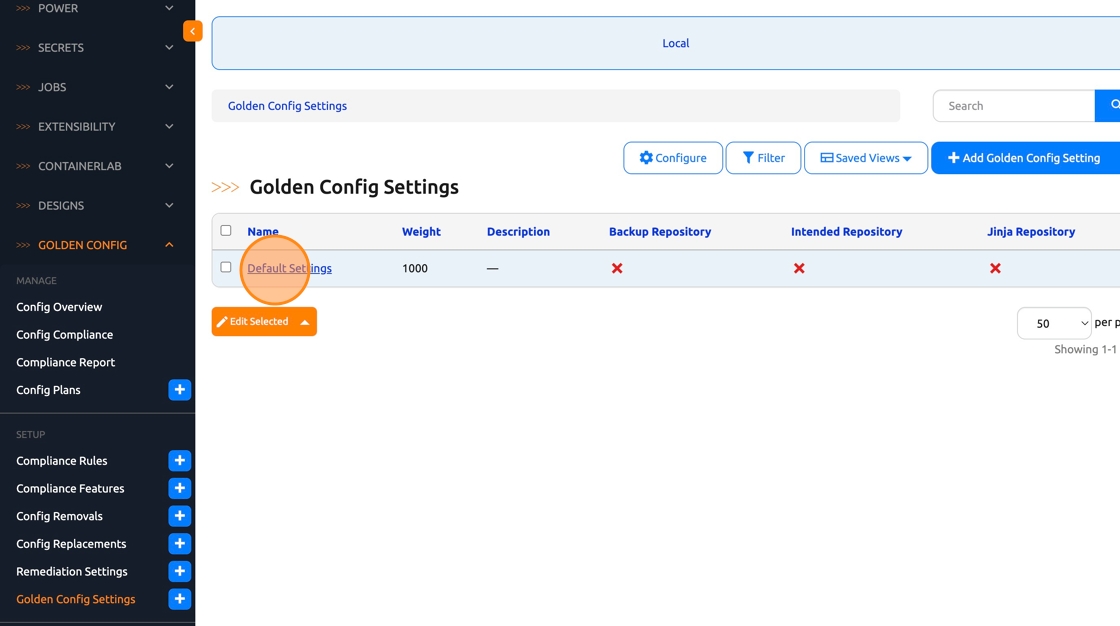
3. Click “Default Settings”
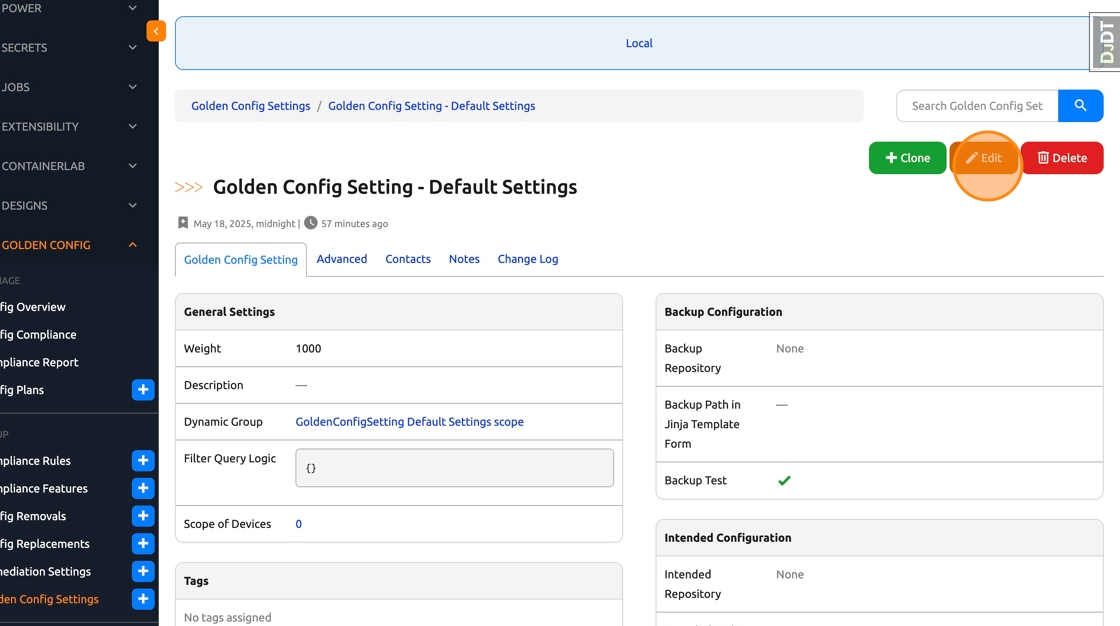
4. Click “Edit”
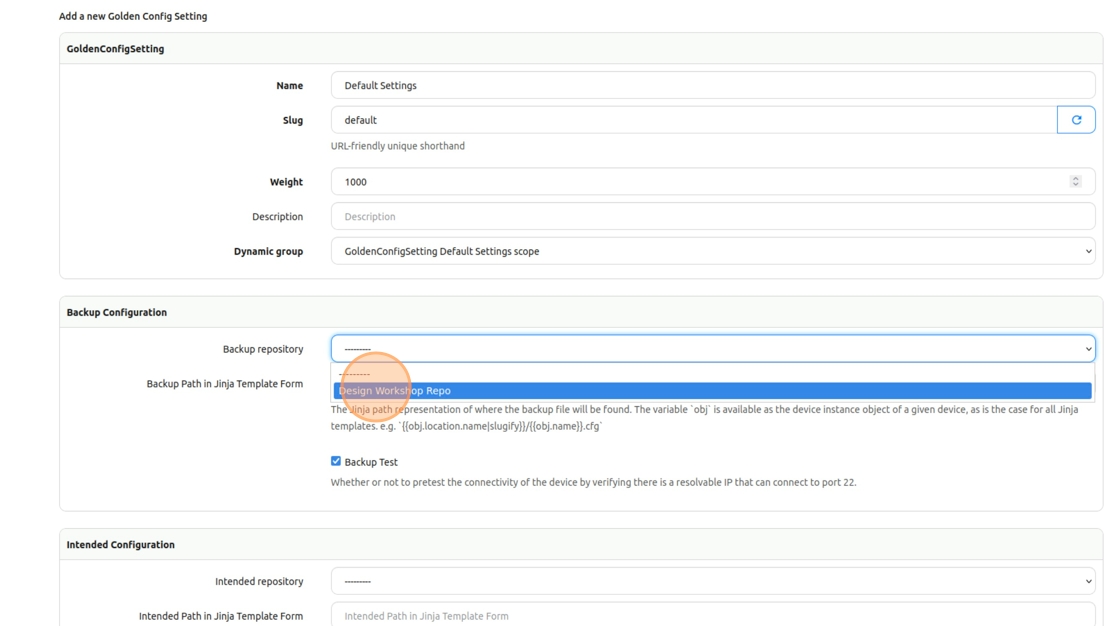
5. For “Backup repository”, select “Design Workshop Repo”
6. Click the “Backup Path in Jinja Template Form” field.
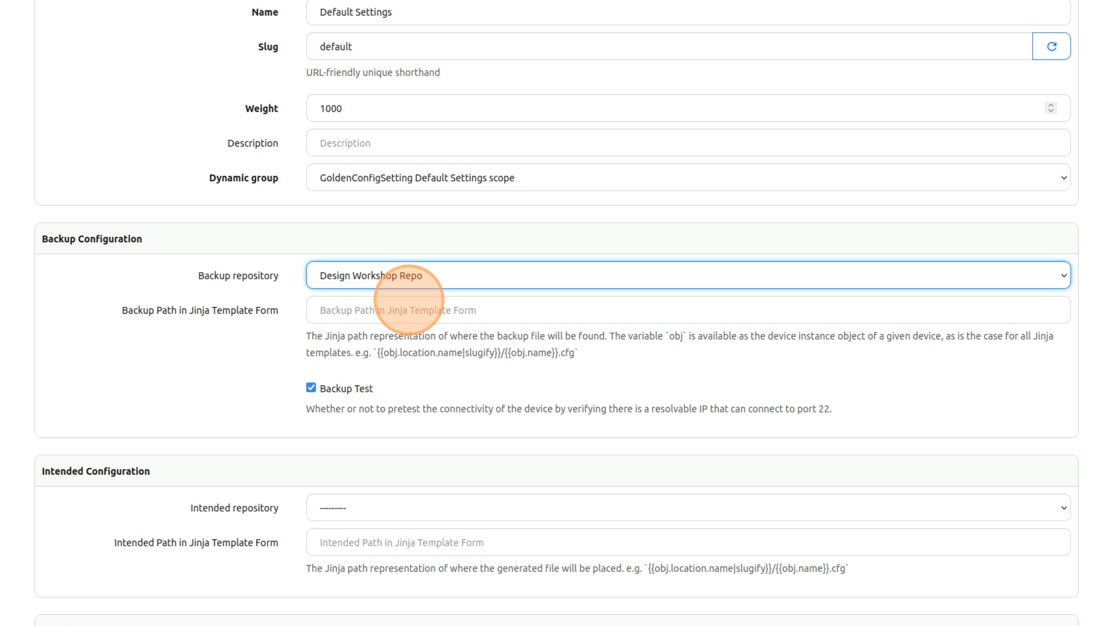
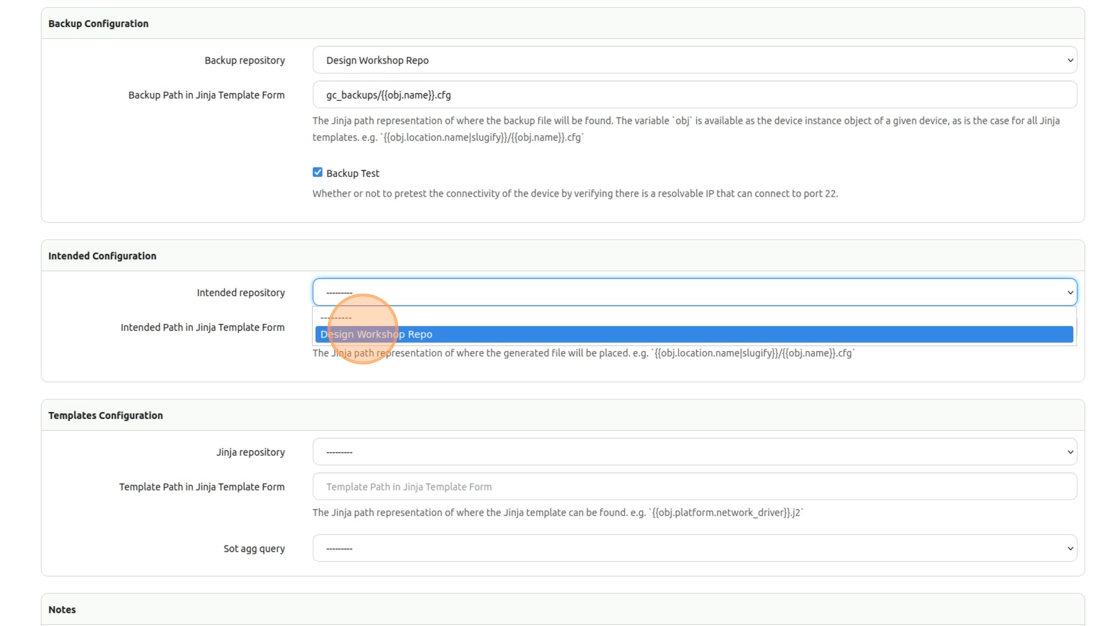
7. Type gc_backups/{{obj.name}}.cfg, this tells Golden Config where to save our backup files (We will use it in a later lab)
gc_backups/{{obj.name}}.cfg
8. For the “Intended repository”, select the “Design Workshop Repo” option again
9. Click the “Intended Path in Jinja Template Form” field.
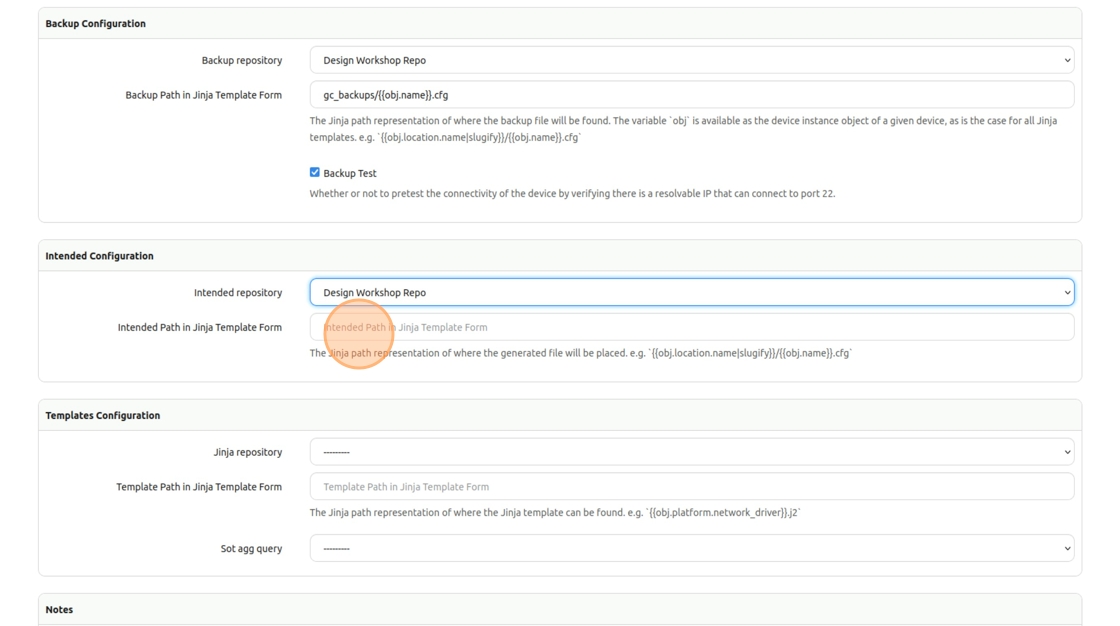
10. Type gc_intended/{{obj.name}}.cfg
gc_intended/{{obj.name}}.cfg
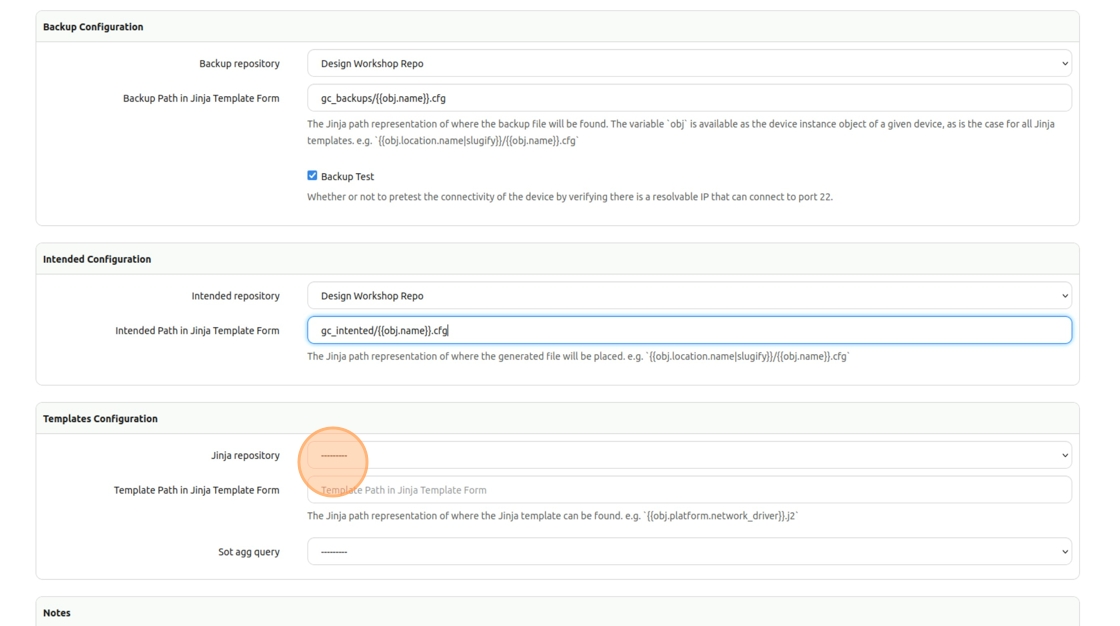
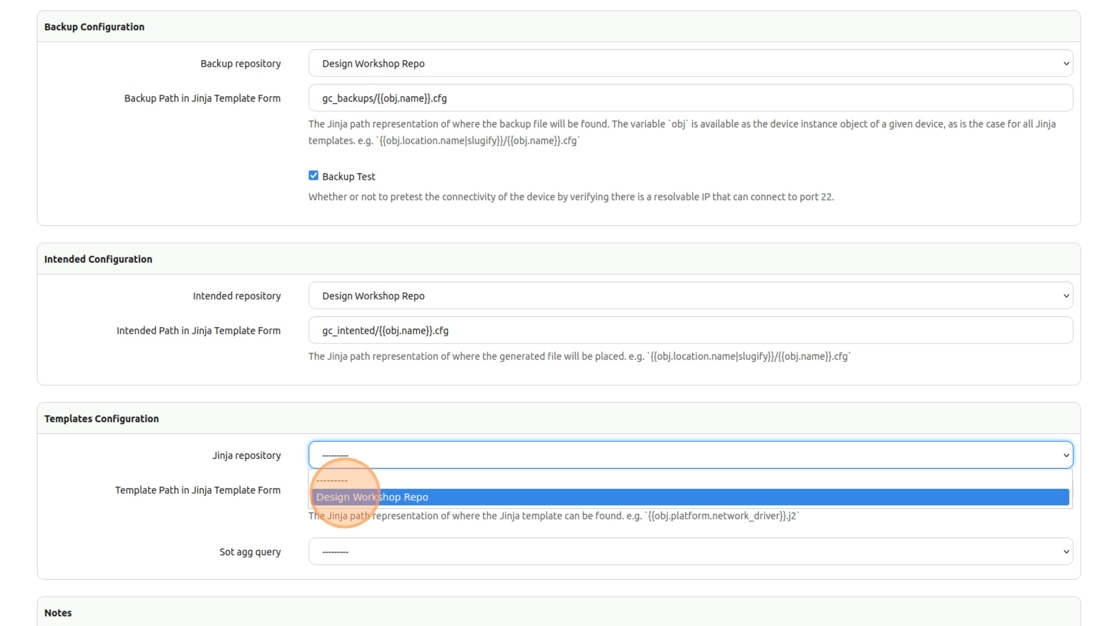
11. Last, for the “Jinja repository”, select “Design Workshop Repo”
12. Click the “Template Path in Jinja Template Form” field.
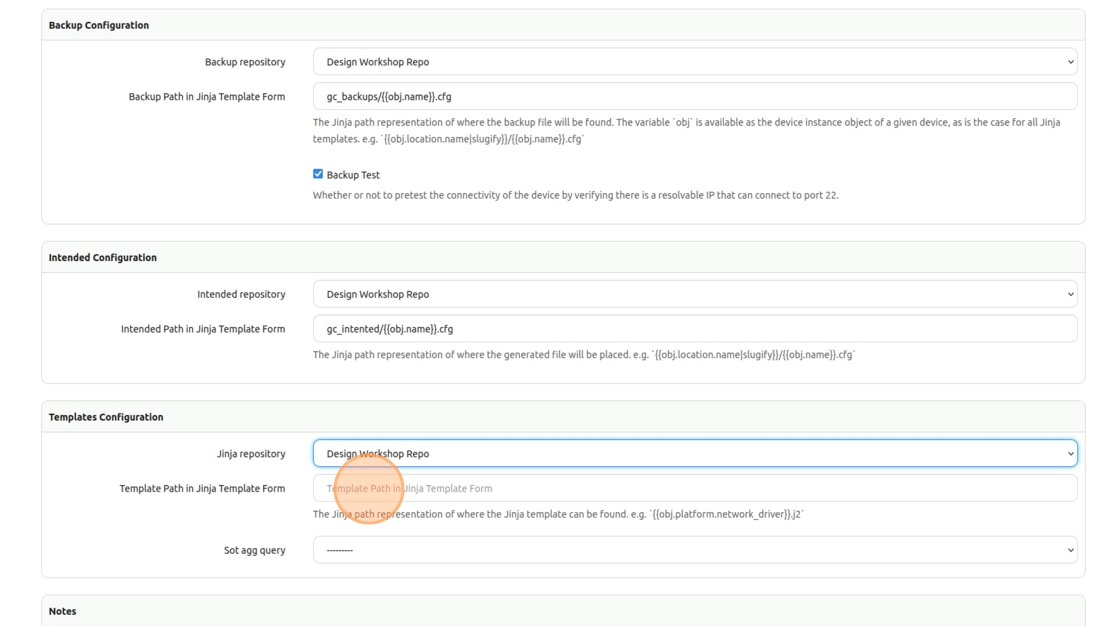
13. Type gc_templates/{{ obj.platform.network_driver }}.j2
gc_templates/{{ obj.platform.network_driver }}.j2
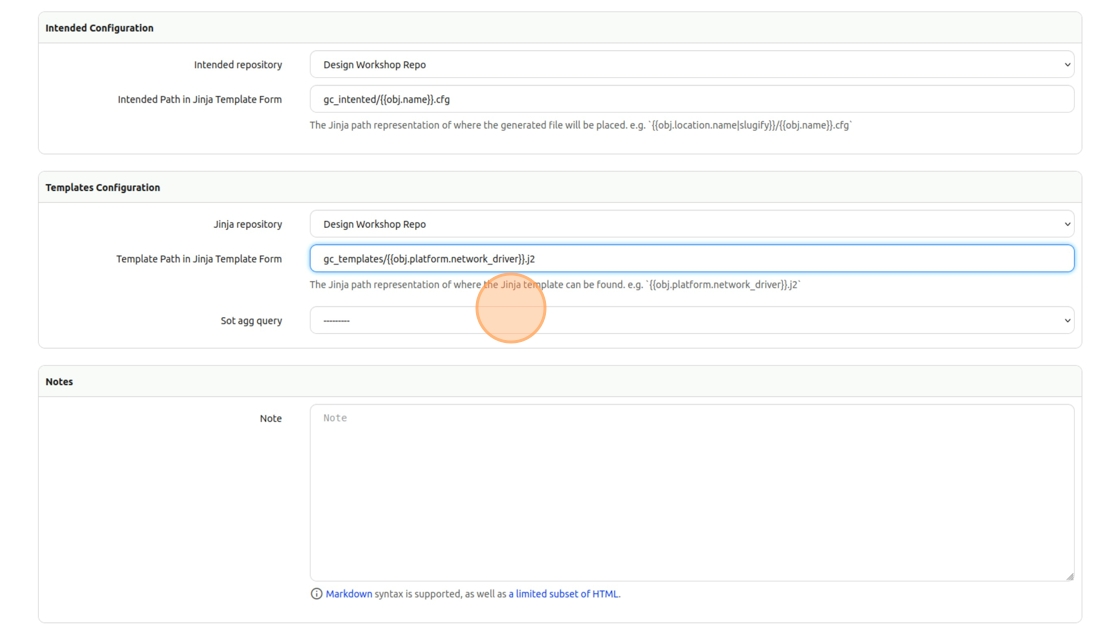
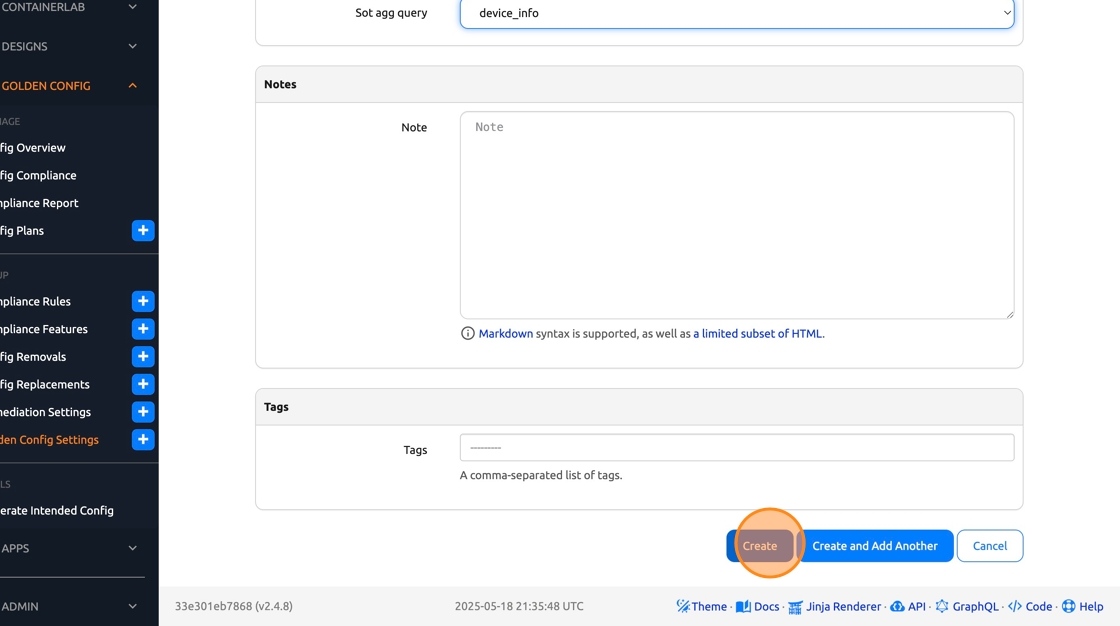
14. Under Sot agg query, select the “device_info”. This is a GraphQL query that is included in the workshop repo.
15. Click “Create”
Generate intended configurations
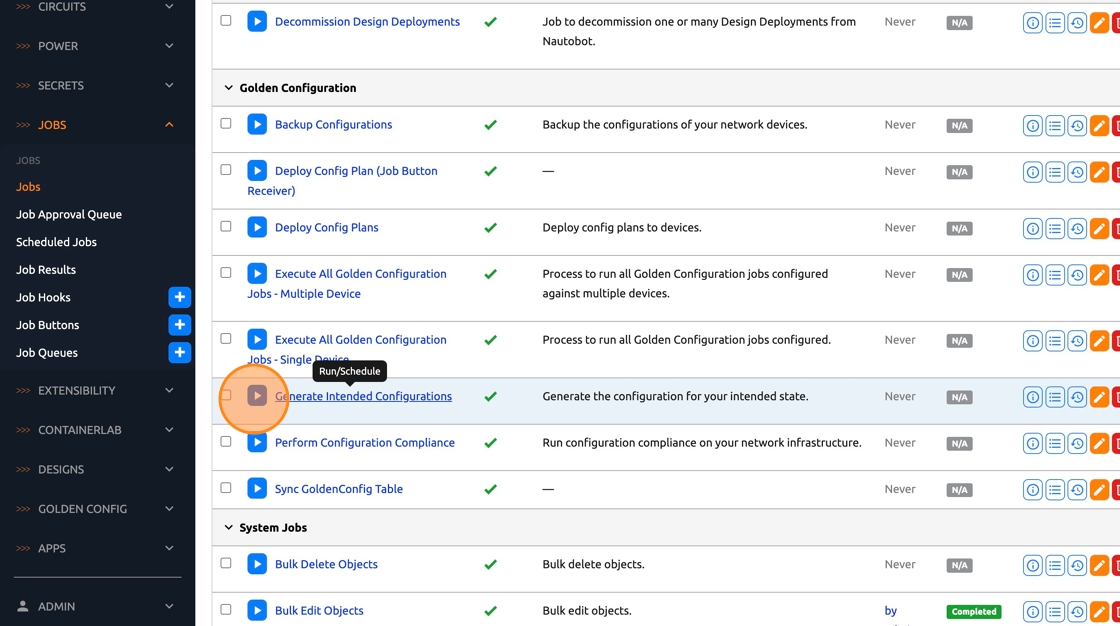
16. Click “Jobs -> Jobs”
17. Run the “Generate Intended Configurations” job
18. In the Location field, select “United States -> NYC01”
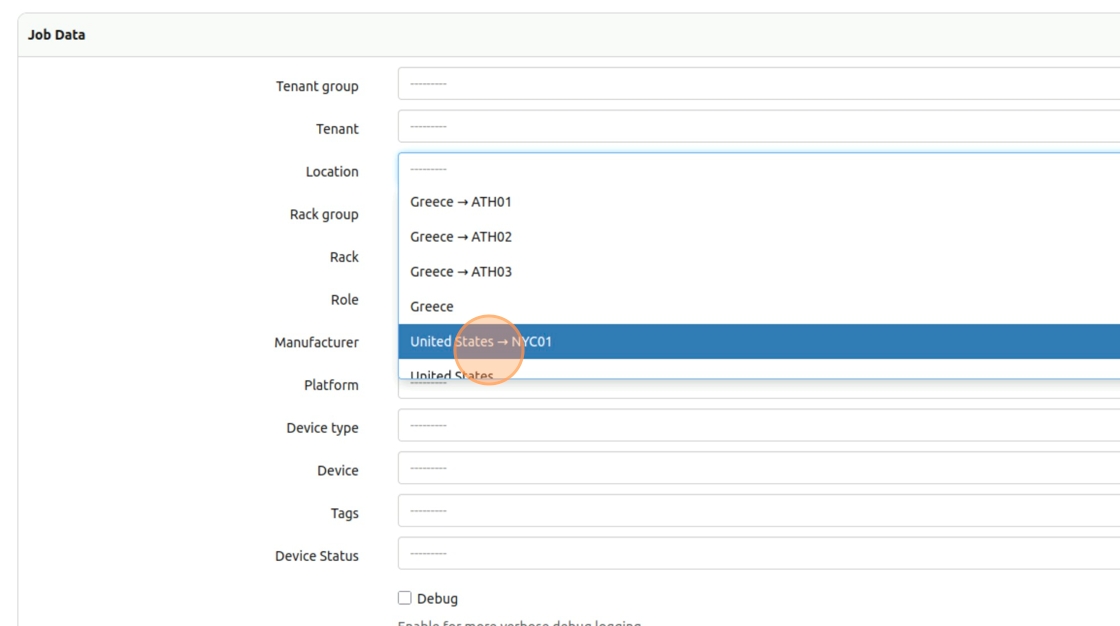
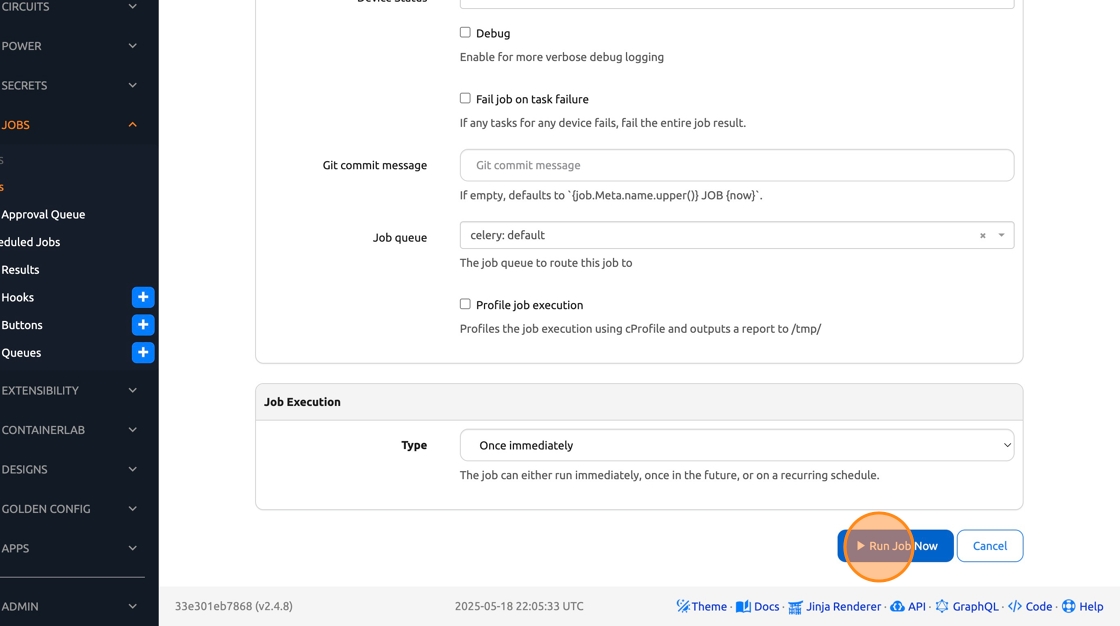
19. Scroll down and click “Run Job Now”
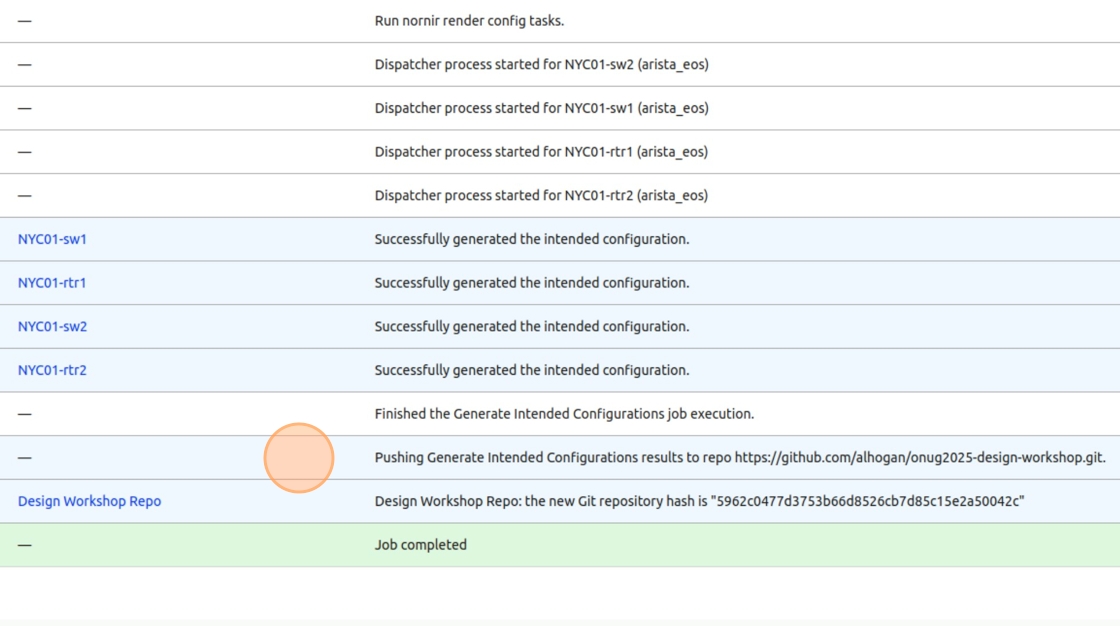
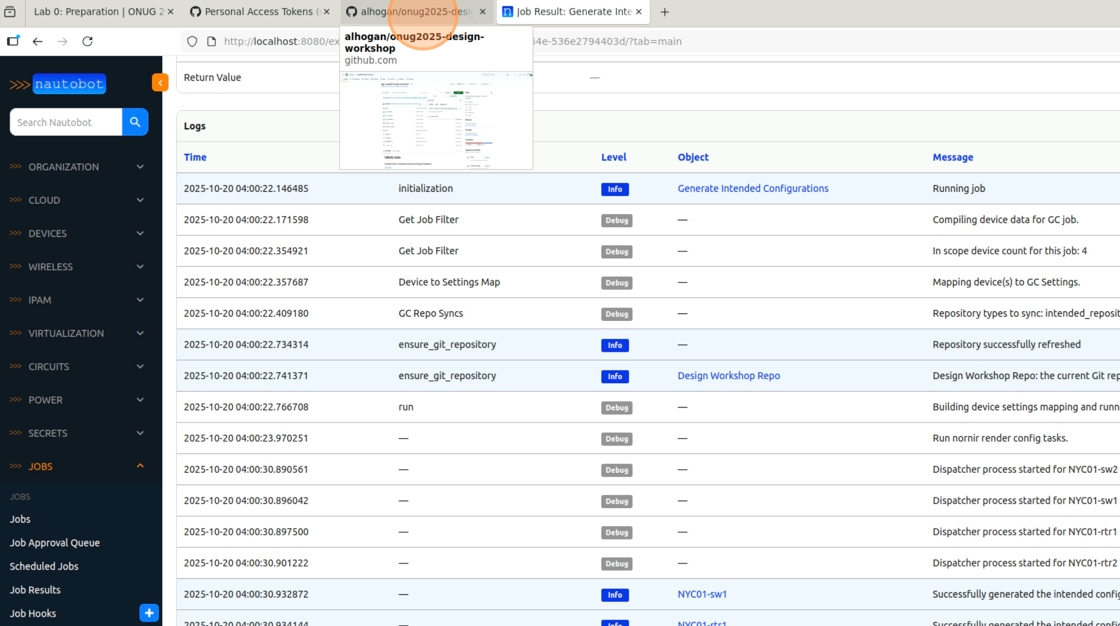
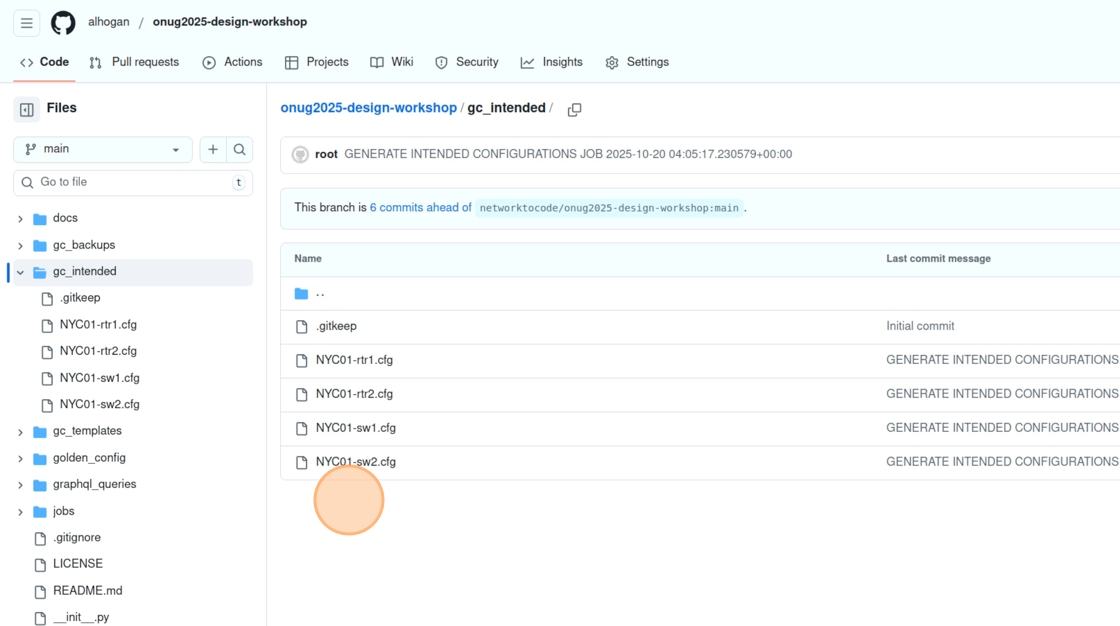
20. Verify that the generated configs were pushed to the repo
21. Navigate to your forked repo in GitHub
22. While in the root folder, click “gc_intended”
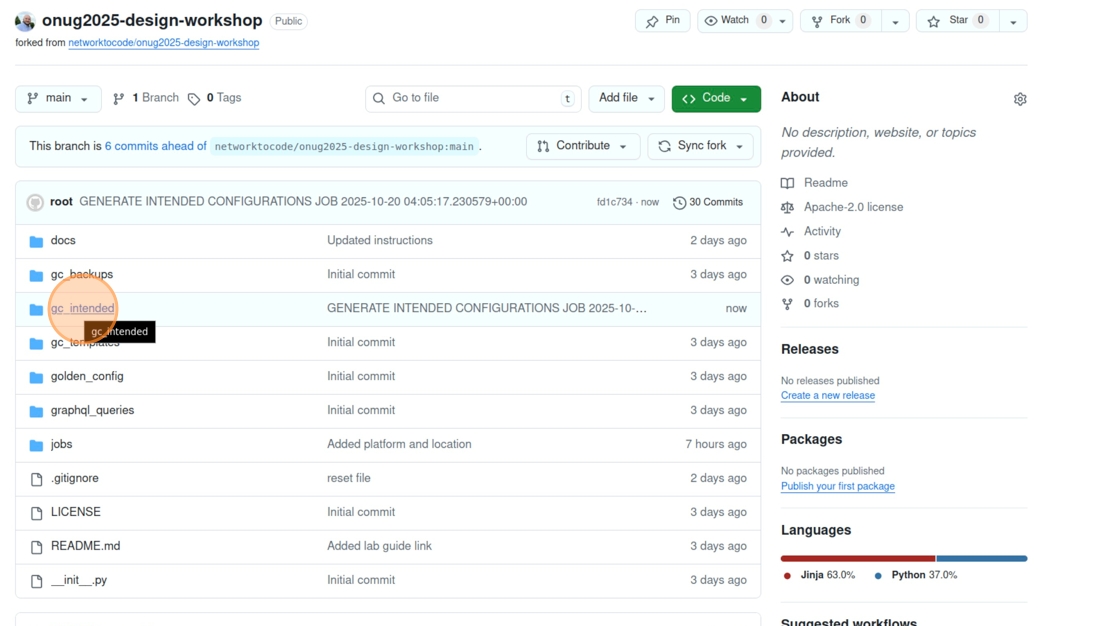
23. Verify that all four configs have been generated and pushed to the repo
| ⬅️ Previous | 🏠 Home | Next ➡️ |