Lab 0: Preparation
Part 5. Prepare Nautobot
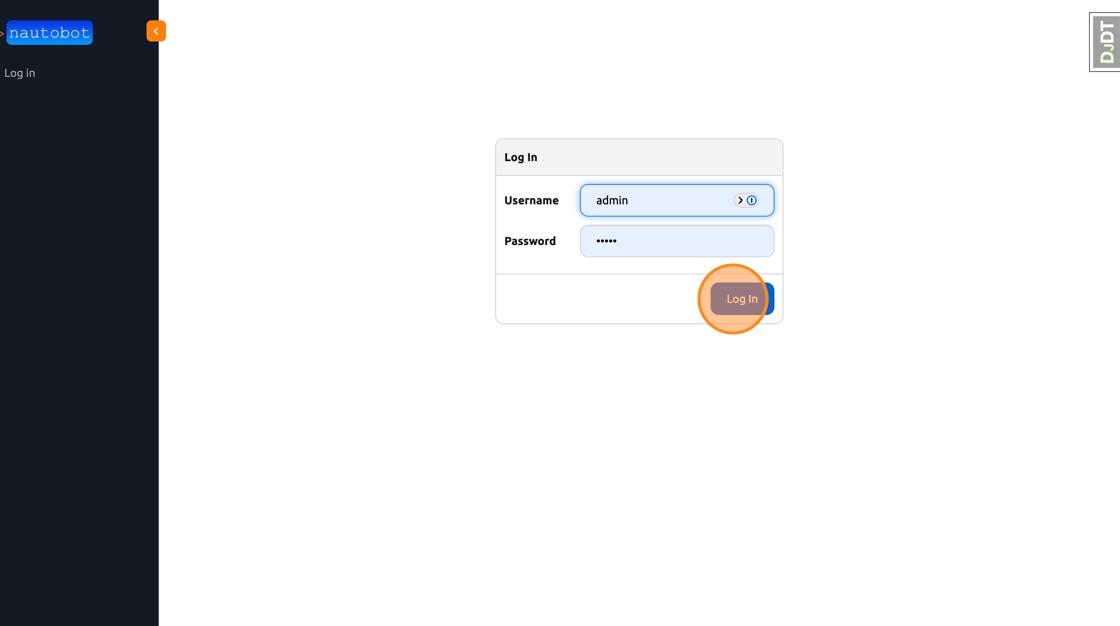
Log into Nautobot
1. Navigate to http://localhost:8080
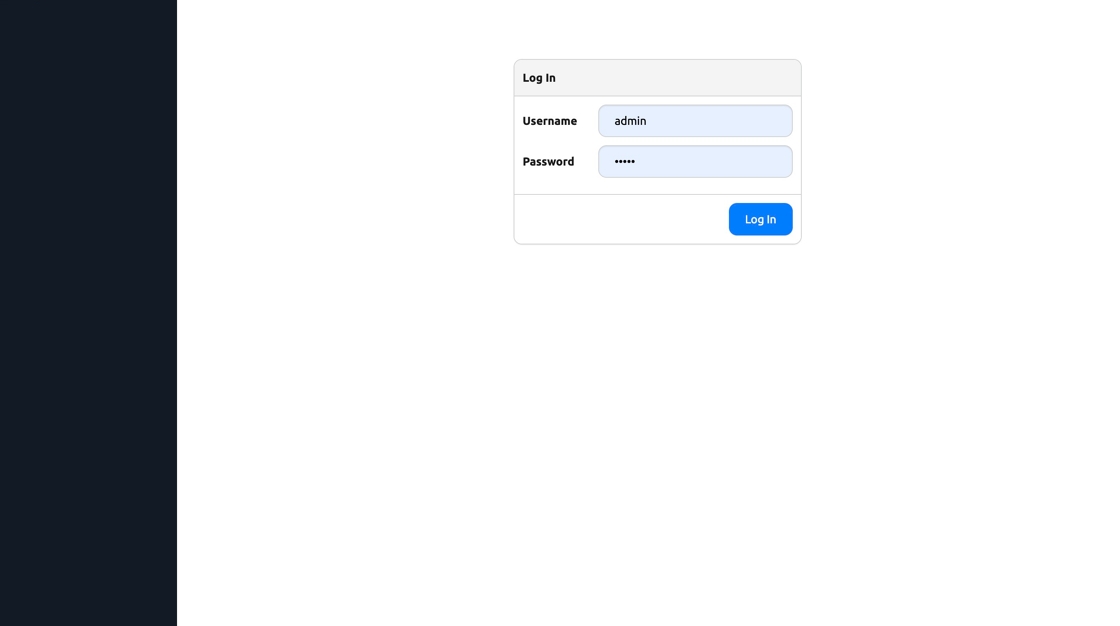
2. Type username admin, password admin

3. Click “Log In”
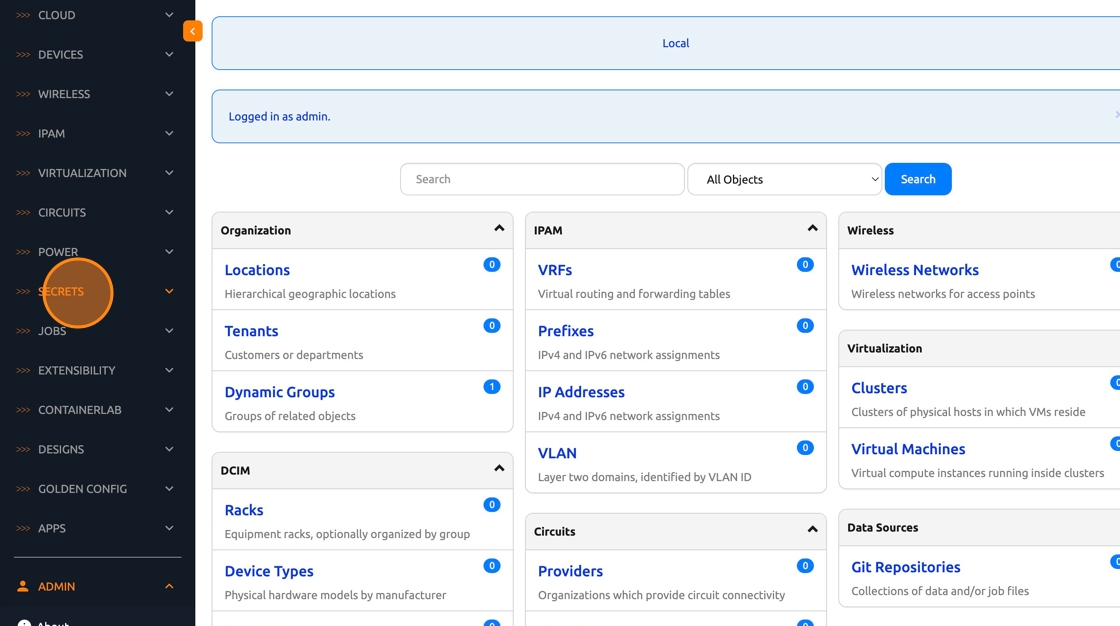
Add Github PAT as a Nautobot Secret
Secrets can be provided by Environment Variables, Text Files, or External Secrets Providers (Hashicorp Vault, Azure Key Vault, AWS Secrets Manager, etc)
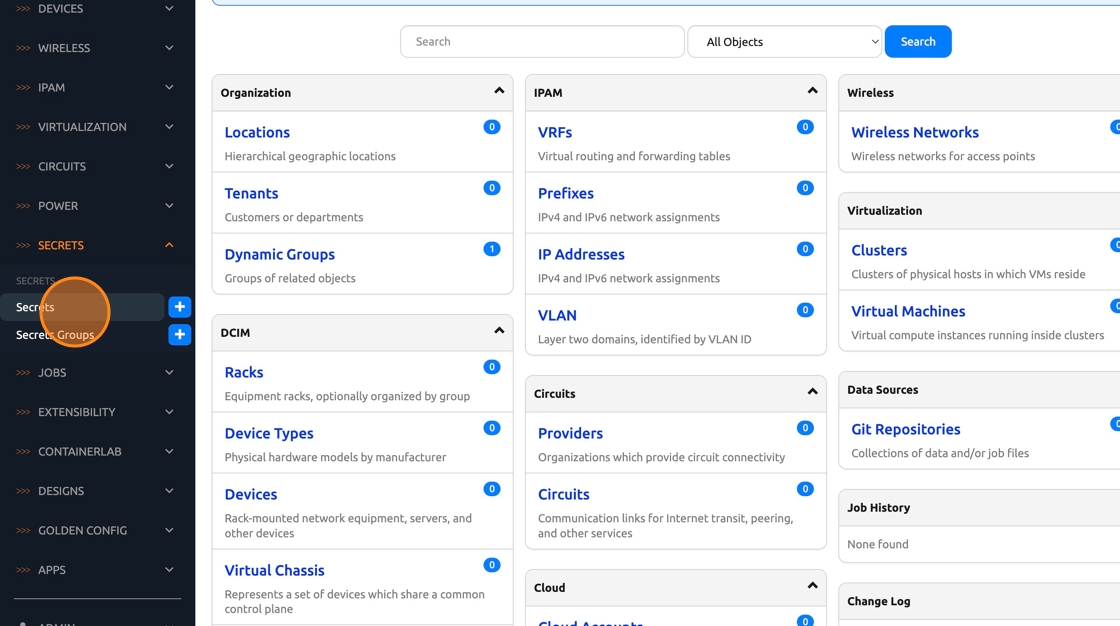
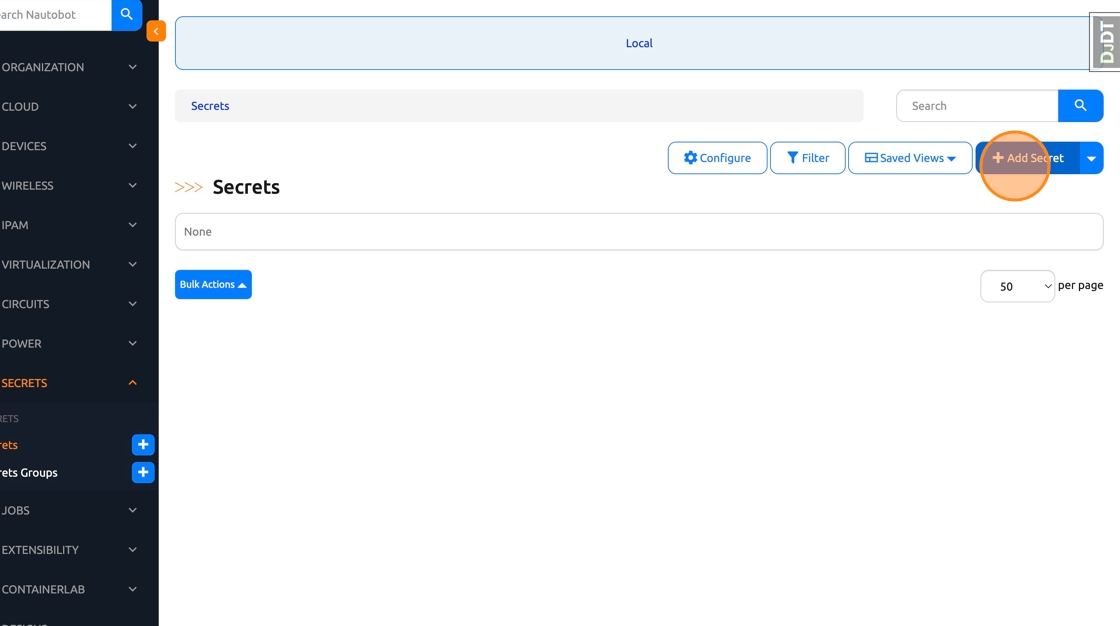
4. In the Nautobot Nav Menu, Click “Secrets”
5. Click “Secrets”
6. Click “Add Secret”
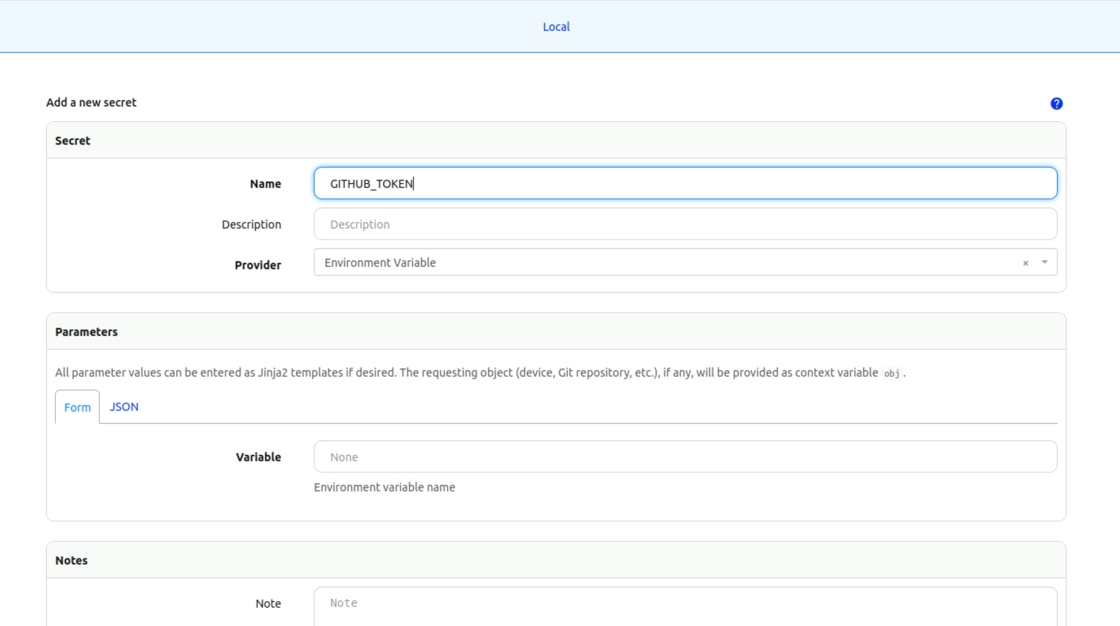
7. Click the “Name” field, Type GITHUB_TOKEN
8. Click the “Variable” field, type GITHUB_TOKEN (This has to match the var in the “creds.env” file)
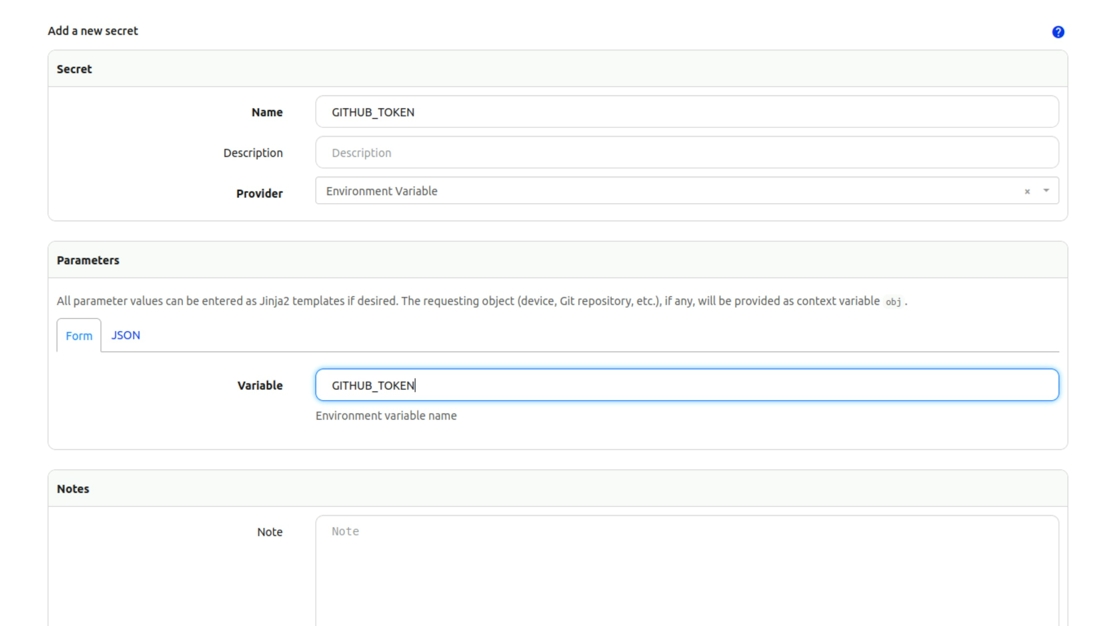
9. Click “Create”

Add Github Secret Group
Secrets are assigned to a Group and then applied to a Device in Nautobot
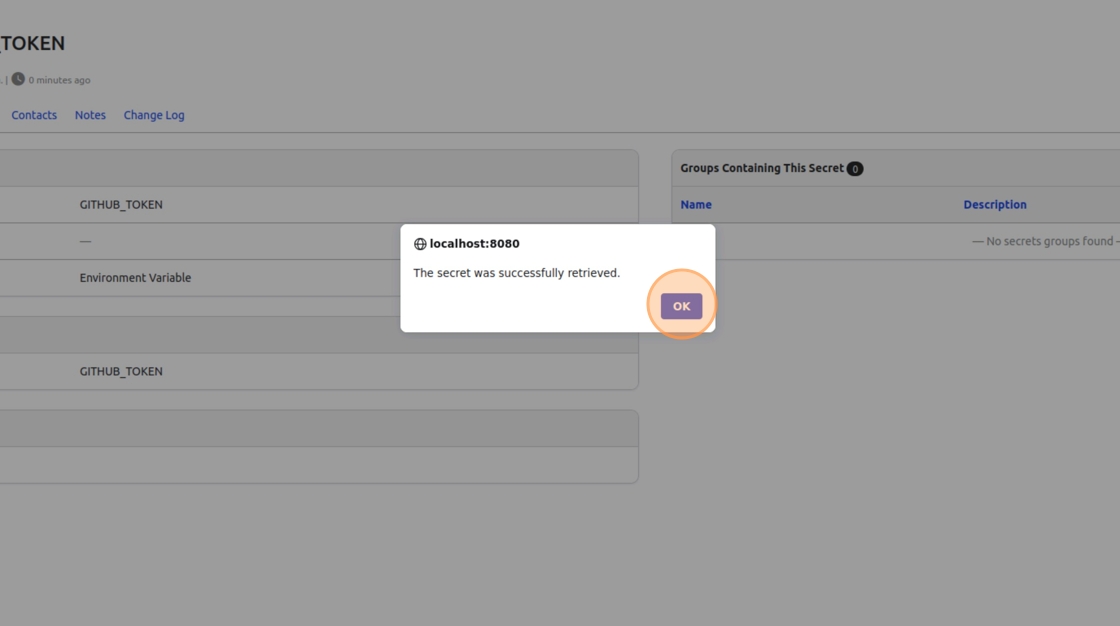
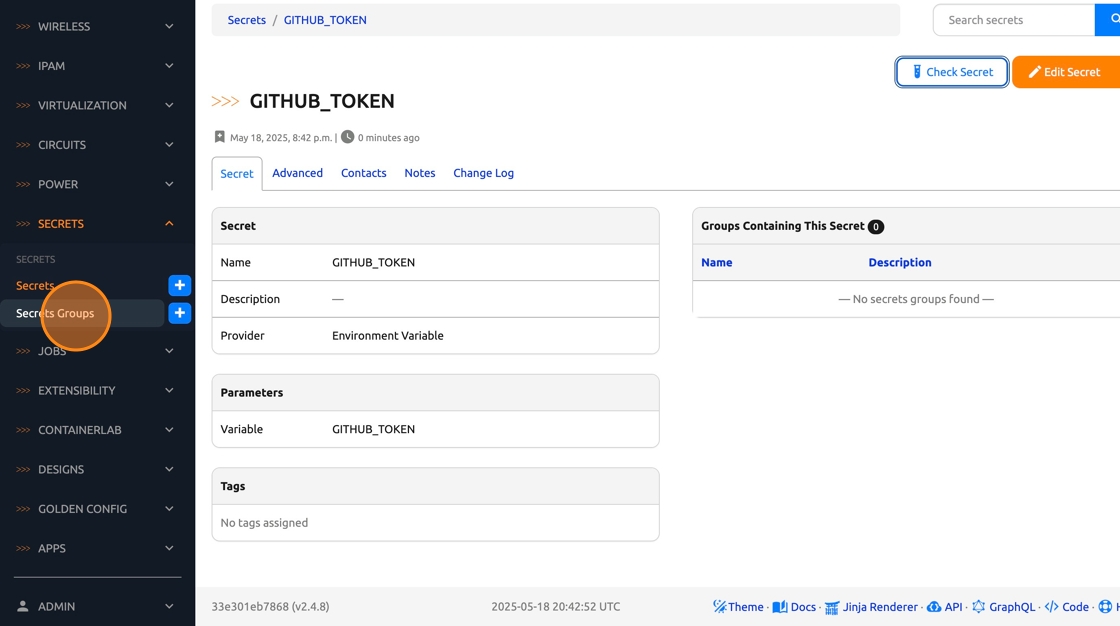
10. Click “Check Secret” to verify that the created Secret can be retrieved
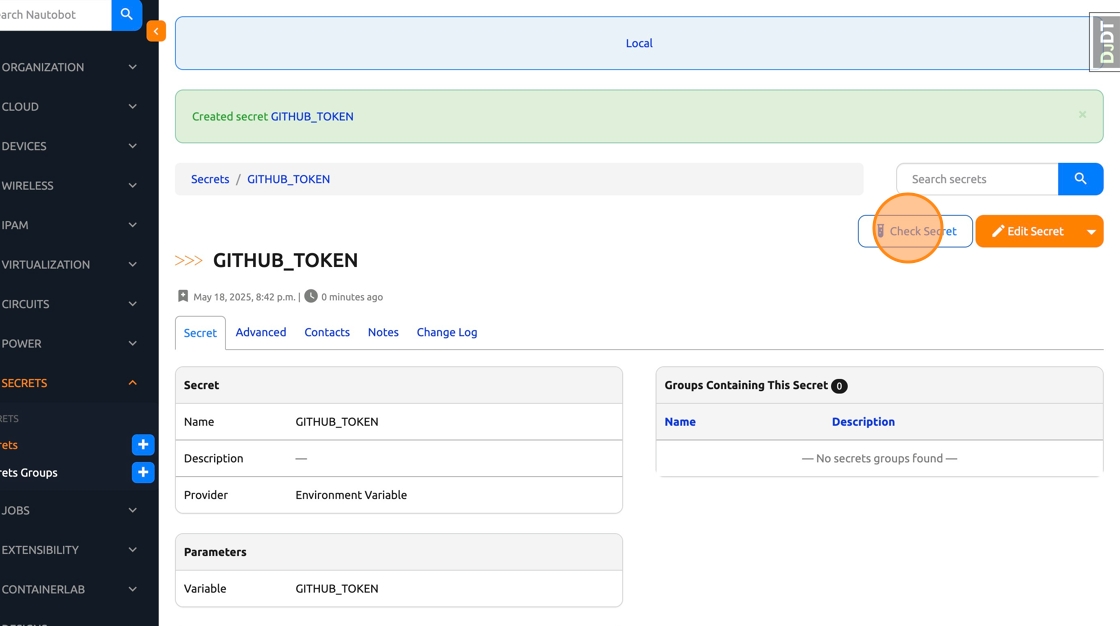
11. Click “OK” to dismiss the pop up
12. Click “Secrets Groups”
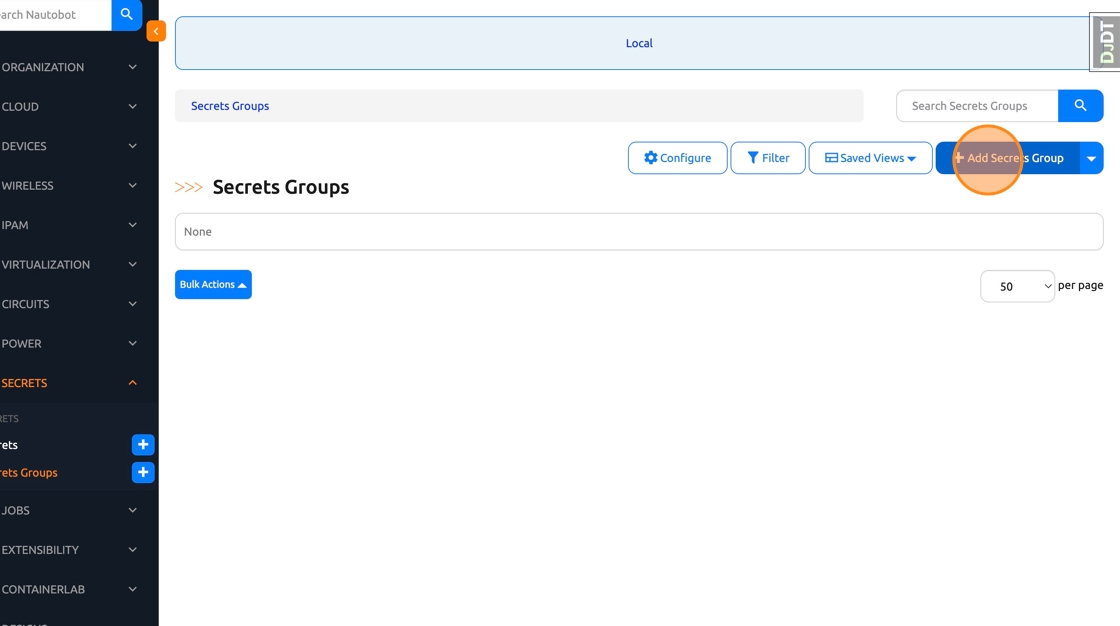
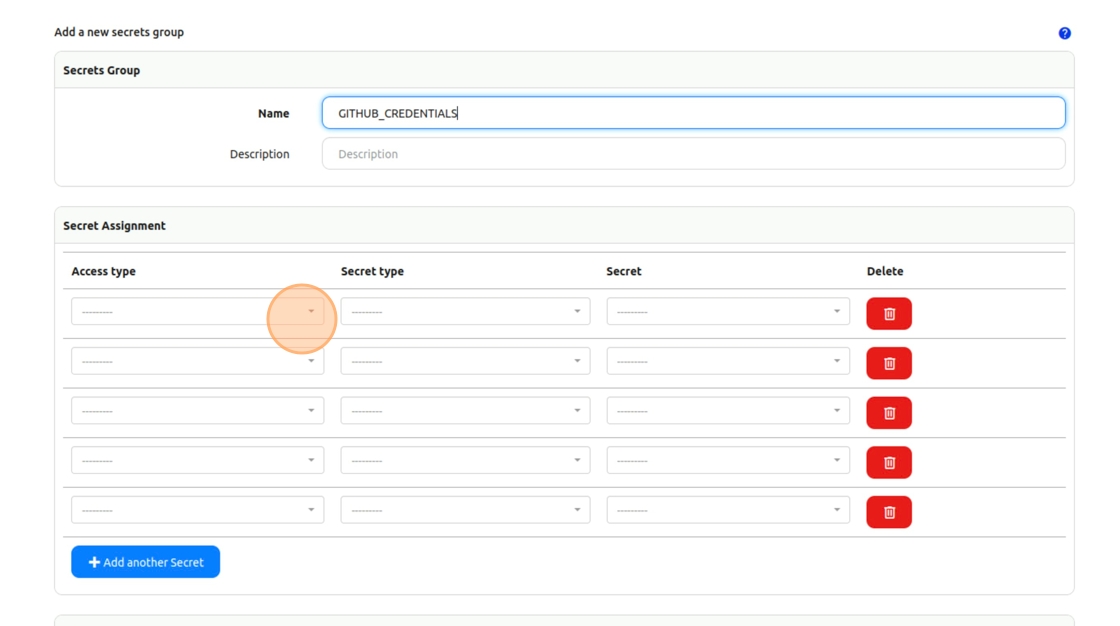
13. Click “Add Secrets Group”
14. Click the “Name” field. Type GITHUB_CREDENTIALS
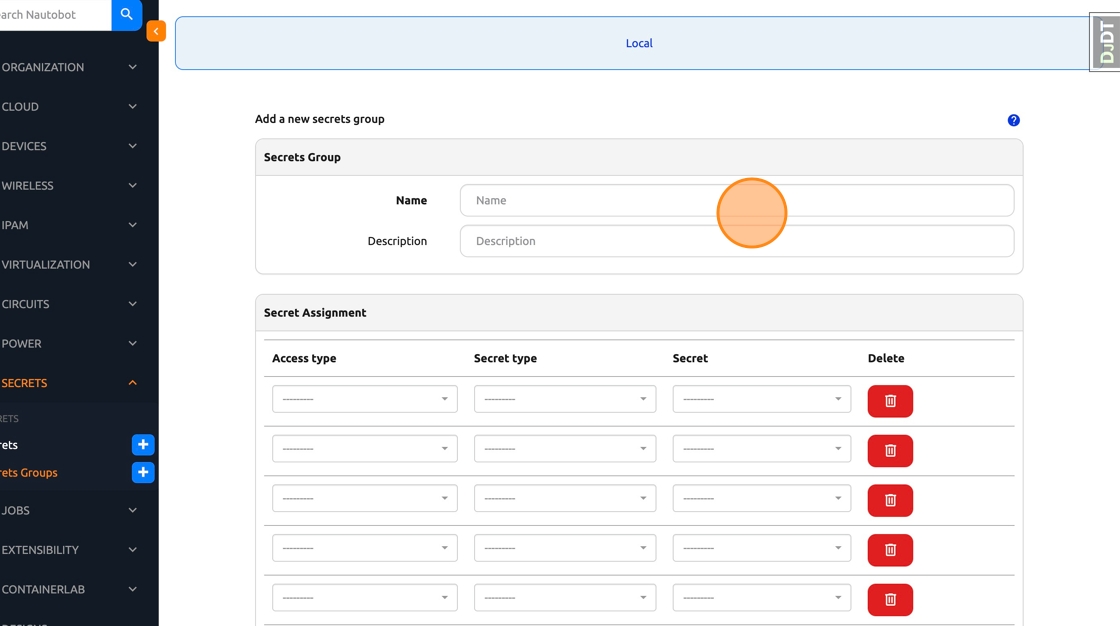
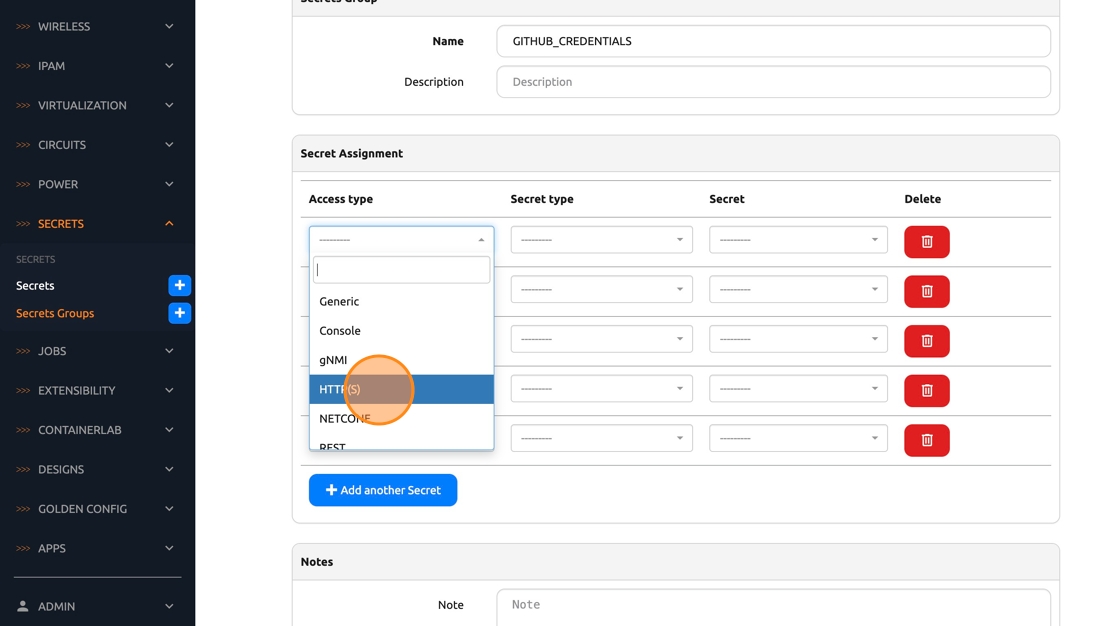
15. Click Access type
16. Select “HTTP(S)”
17. Click Secret type
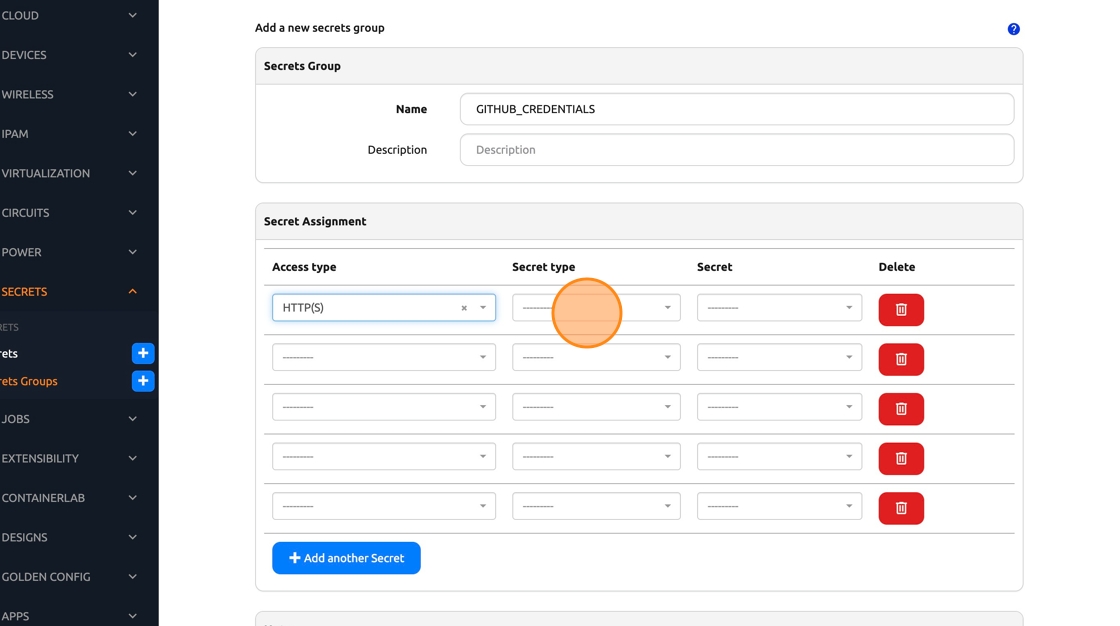
18. Select “Token”

19. Click Secret
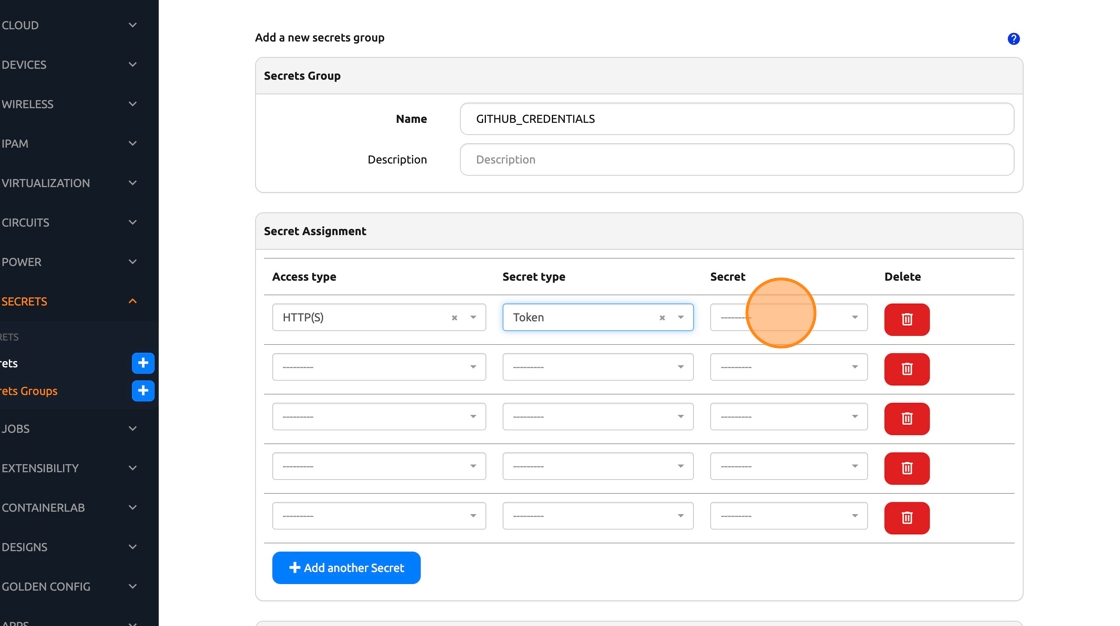
20. Select “GITHUB_TOKEN” (The name of the Nautobot Secret we just created)

21. Click “Create”

Add Github repository as data source
22. In the Nautobot Nav Menu, Click “Extensibility -> Git Repositories”

23. Click “Add Git Repository”

24. Click the “Name” field.
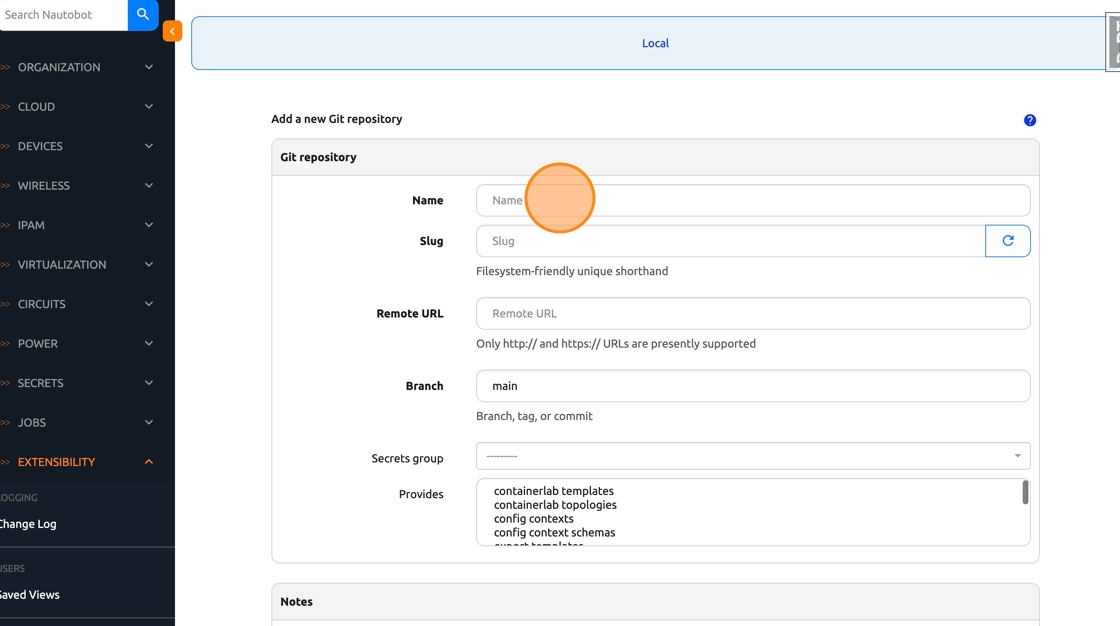
25. Type “Design Workshop Repo”
26. Navigate back to GitHub and copy the forked repo URL (the one under your account)
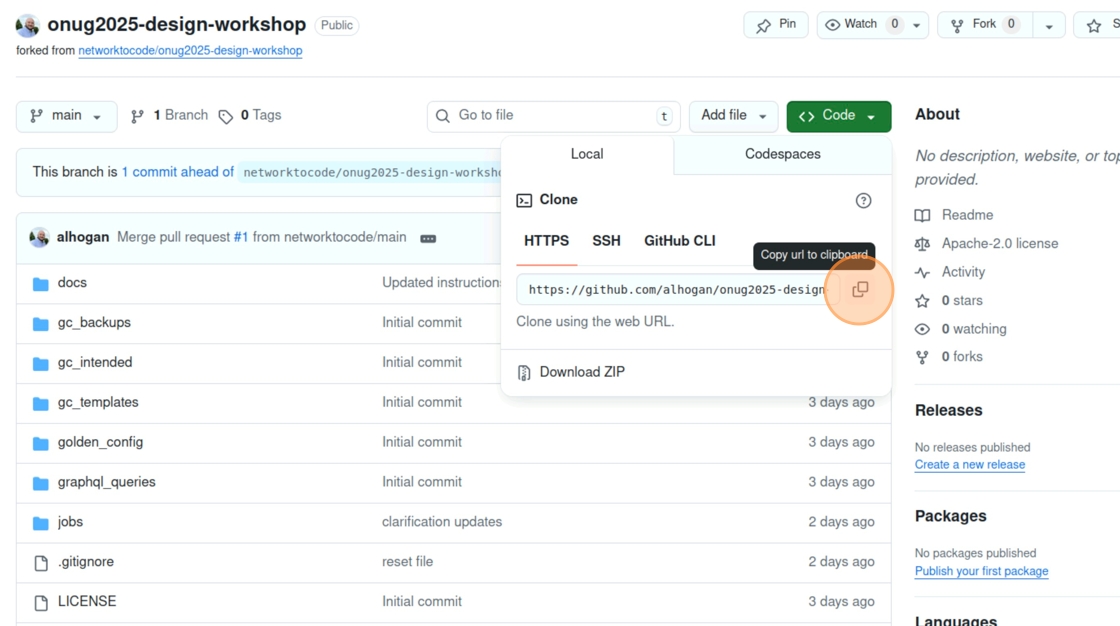
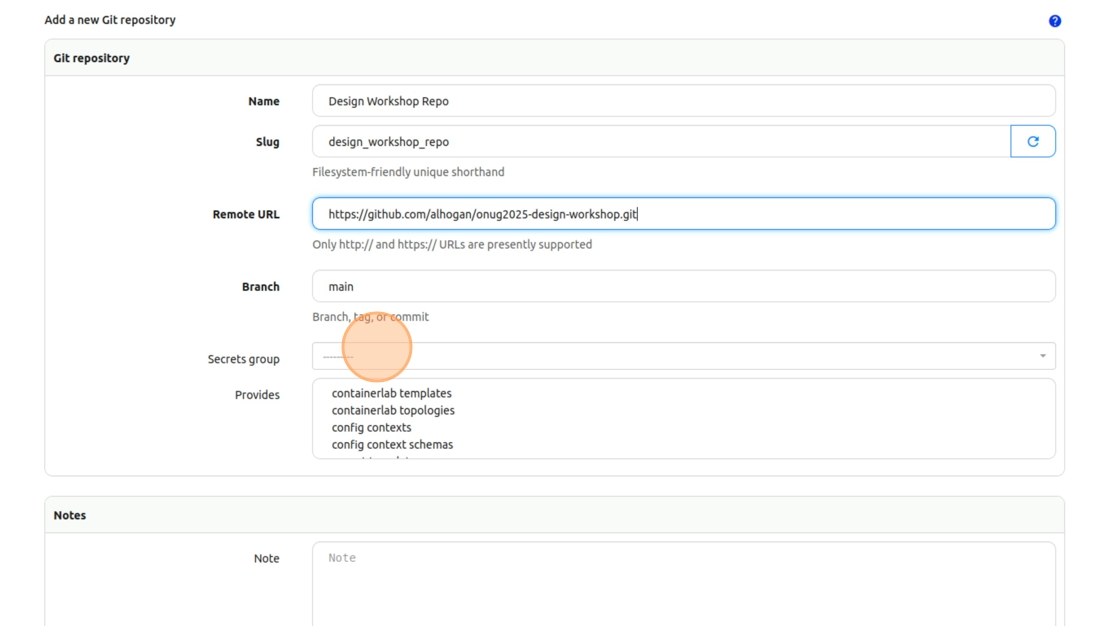
27. Click the “Remote URL” field and paste the URL.
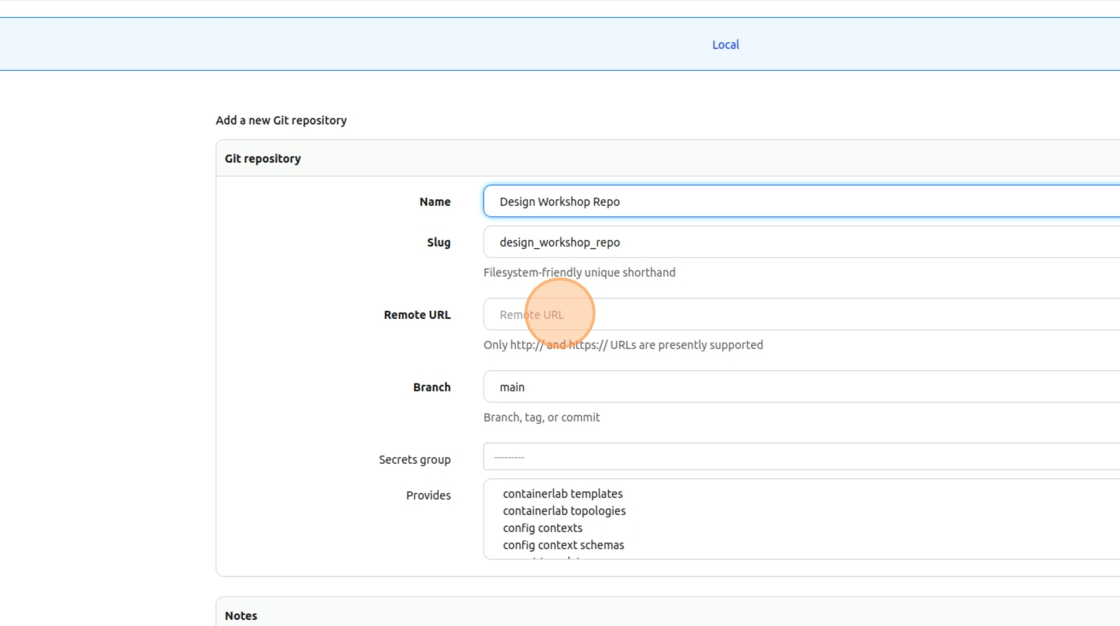
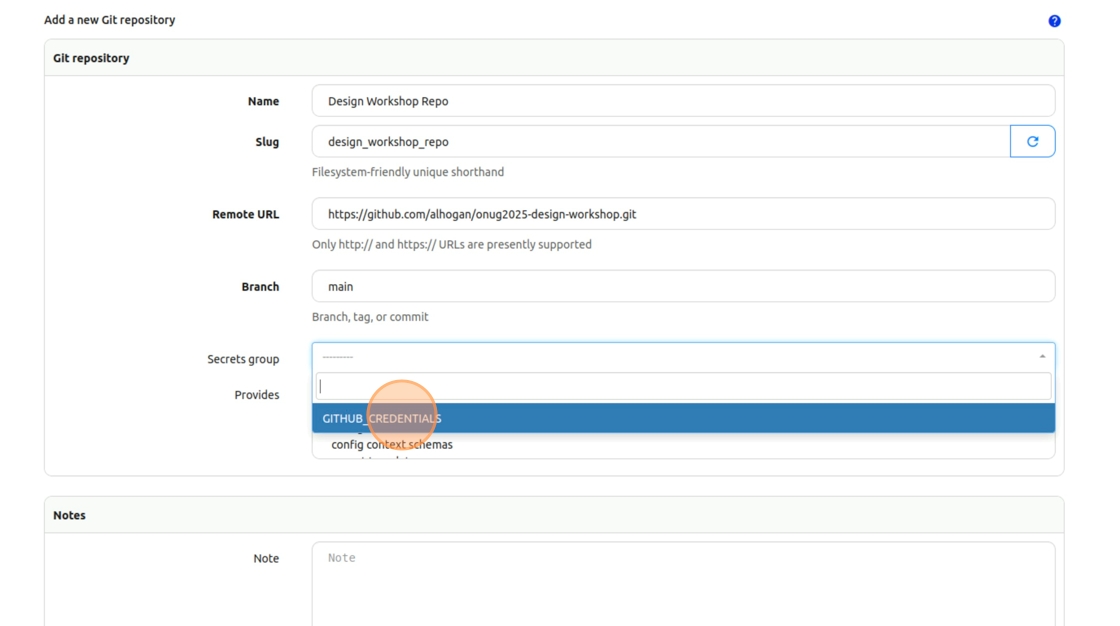
28. Click the Secrets group field
29. Select “GITHUB_CREDENTIALS”
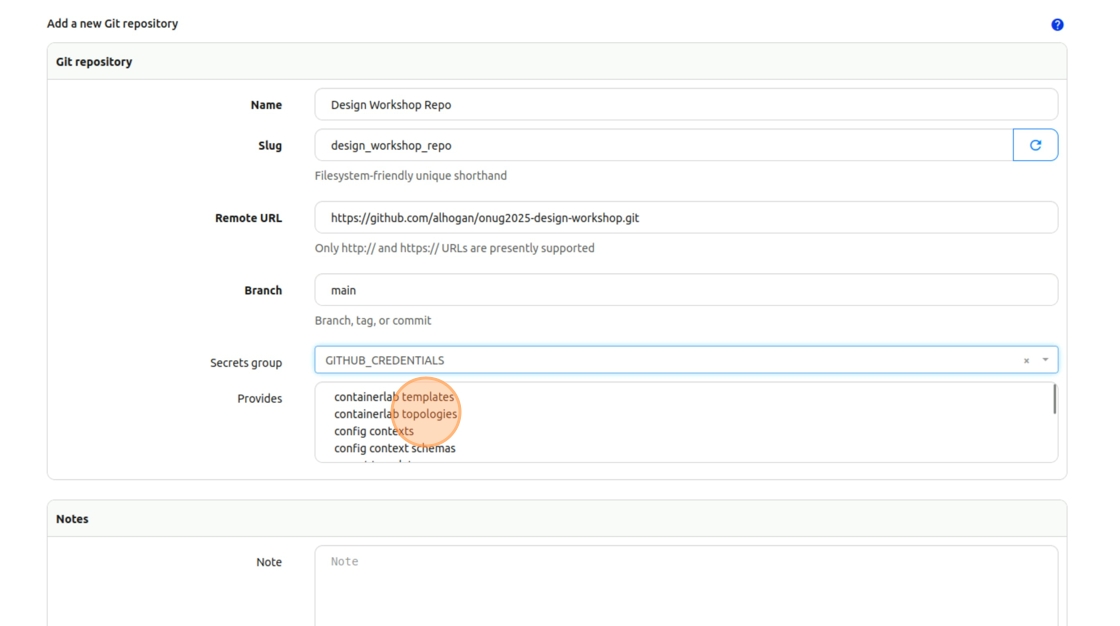
30. Under the “Provides” field, hold Ctrl and click to select the following options:
- containerlab topologies
- graphql queries
- jobs
- backup configs
- intended configs
- jinja templates
- Golden Config properties
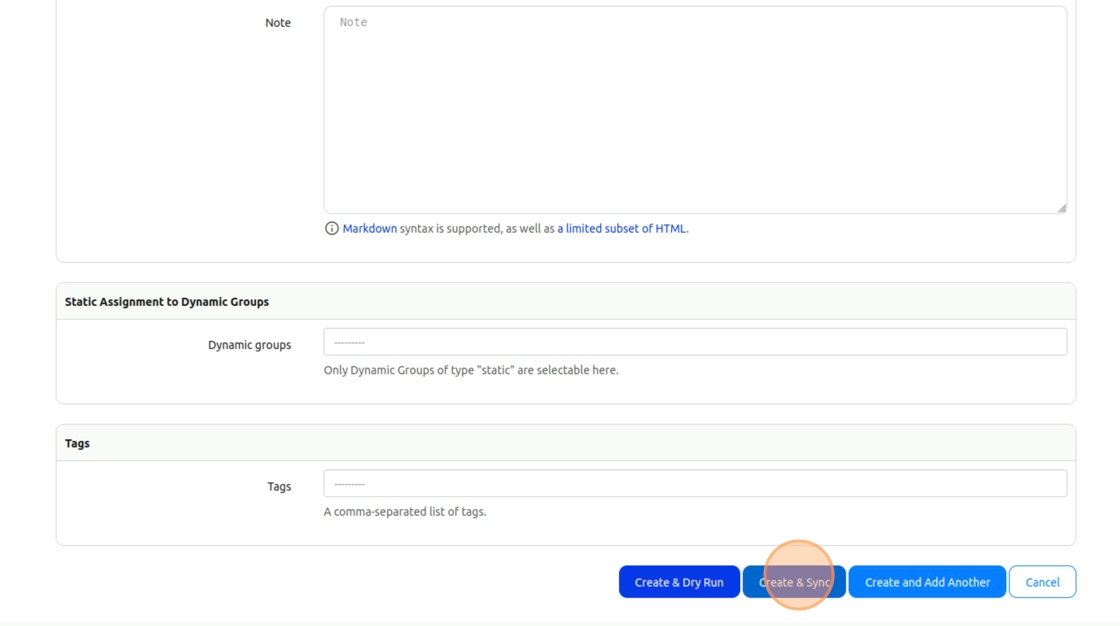
31. Click “Create & Sync” to synchronize the repository to Nautobot
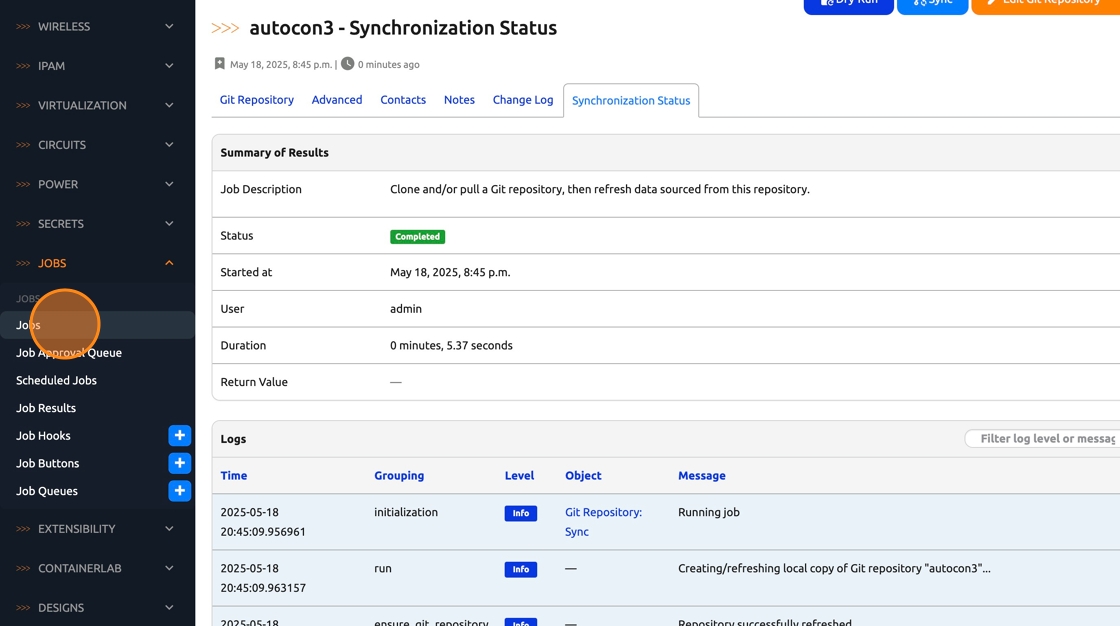
The Synchronization Status should show as “Completed” in the results summary
Enable all newly synced Jobs
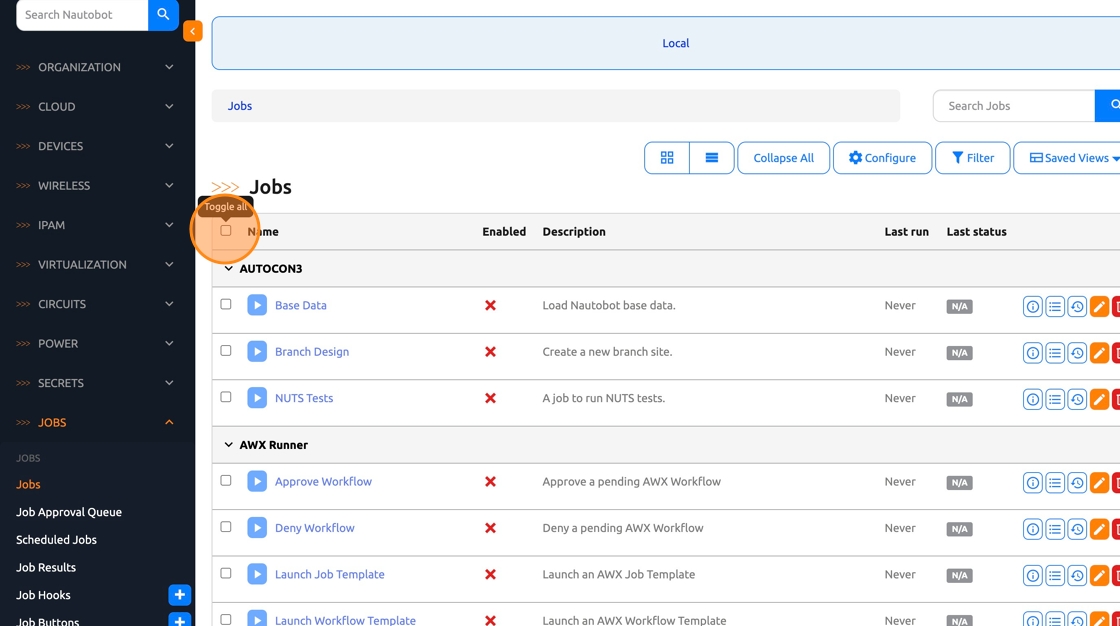
32. Click “Jobs -> Jobs” in the Navbar
33. Click the checkbox on the top left to select all Jobs
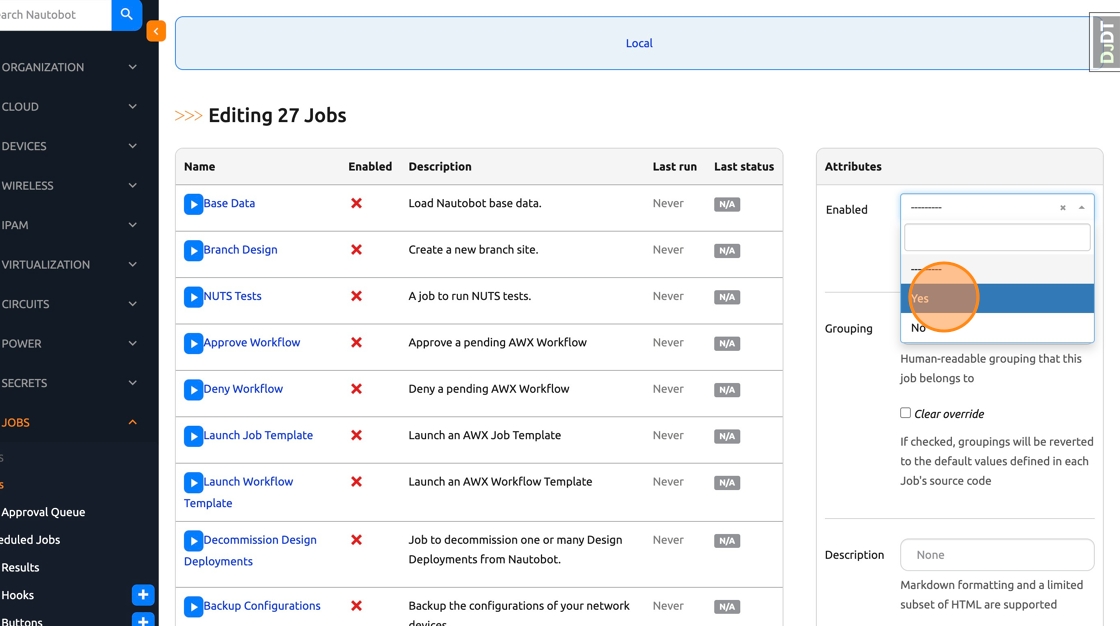
34. Scroll to the bottom of the page and Click “Edit Selected”

35. On the right side of the page, Click the “Enabled” dropdown

36. Select “Yes”
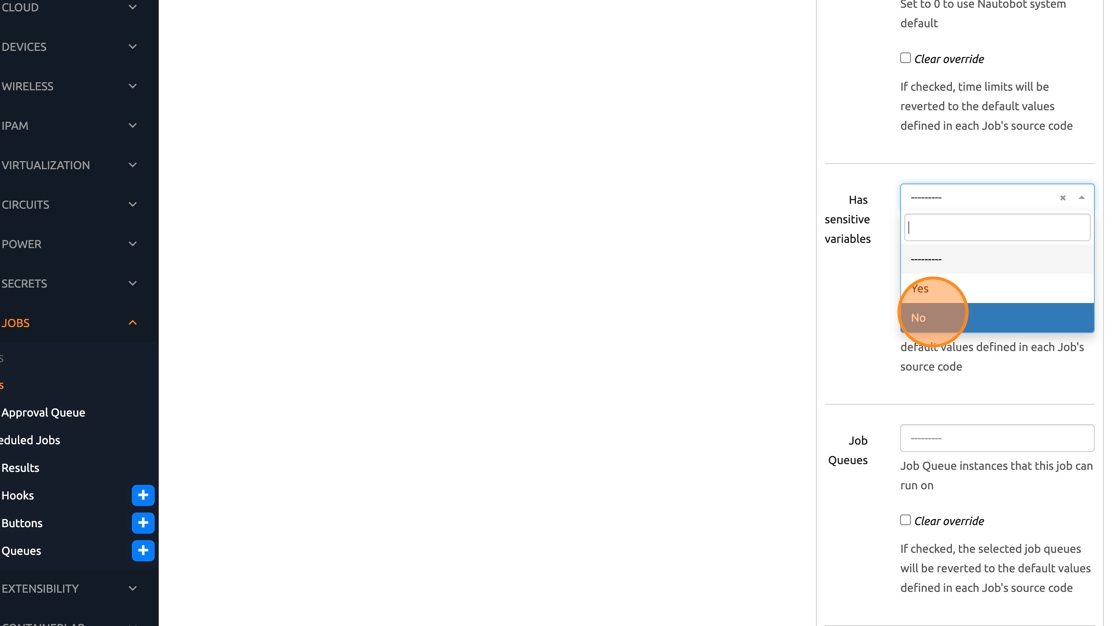
37. Click the “Has sensitive variables” dropdown

38. Select “No”
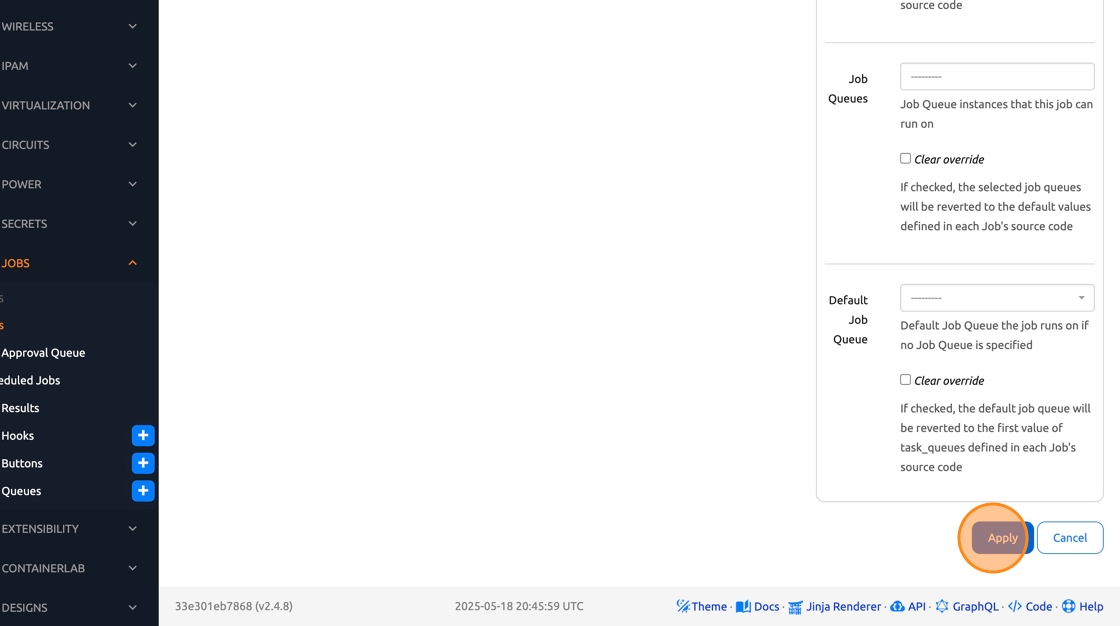
39. Scroll down and click “Apply”, a bulk edit job will run to update the entries
Load base data using design builder
40. Click “Designs” in the left Navbar, then click “Designs” under “Design Builder”

41. Run the “Base Data” design by clicking the blue play button.
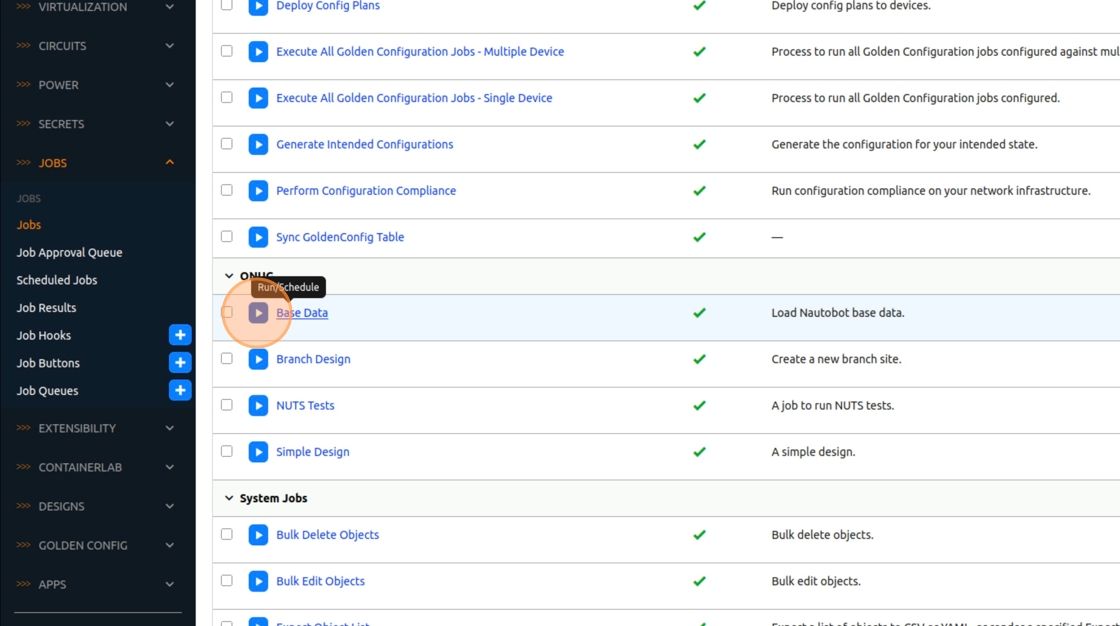
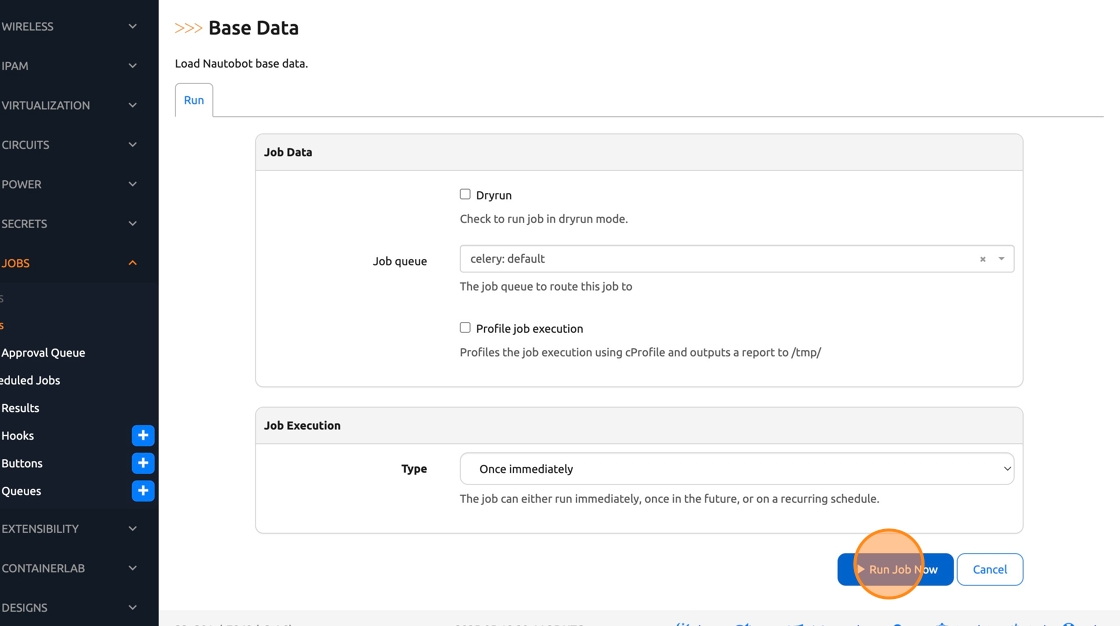
42. This prebuilt design creates all the required objects for our other designs. These are objects that would likely already exist in a Production instance of Nautobot, but are not present in our brand new dev instance. Click the “Run Job Now” button.
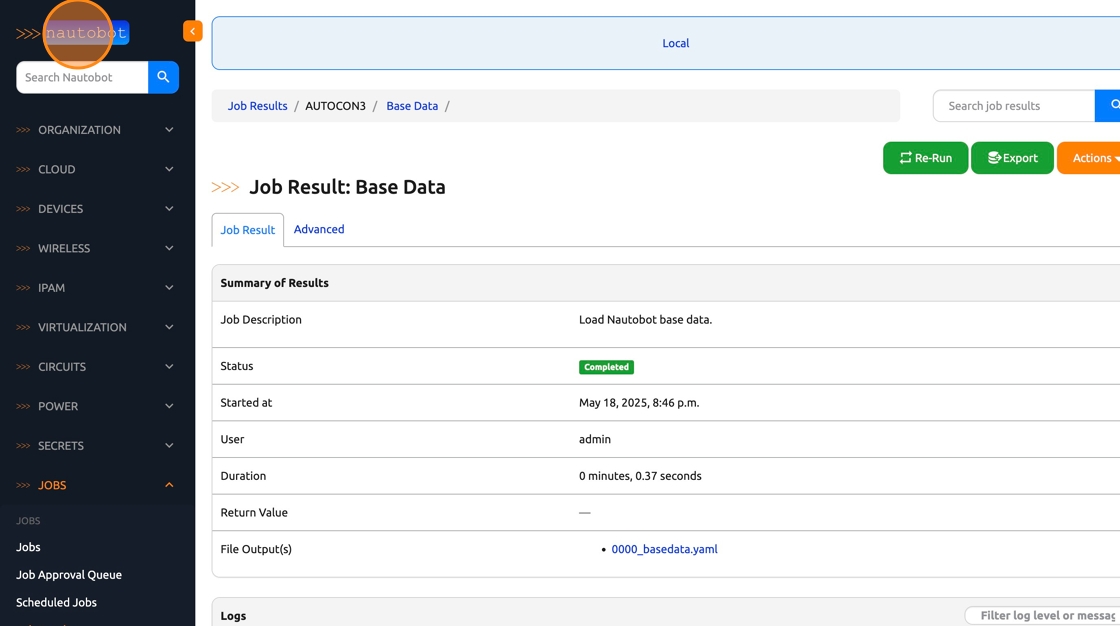
43. Scroll down and the logs will display what objects were created. Now click the Nautobot logo on the top-left corner to be taken to the Home Dashboard.
| ⬅️ Previous | 🏠 Home | Next ➡️ |