Lab 2: Create a digital-twin with containerlab
Part 1. Intro to ContainerLab
1. In the VSCode window with “nautobot-app-containerlab” opened (the one with the yellow border), right click “topologies” in the File Explorer pane

2. Click “New File…” to create a file named onug.clab.yml

3. let’s define a simple single-node topology
# onug.clab.yml
---
name: onug
topology:
  kinds:
    ceos:
      image: ceos:4.32.1F
  nodes:
    ceos1:
      kind: ceos

4. Make sure to save once you’re done!
5. In the top navbar click “Terminal -> New Terminal”

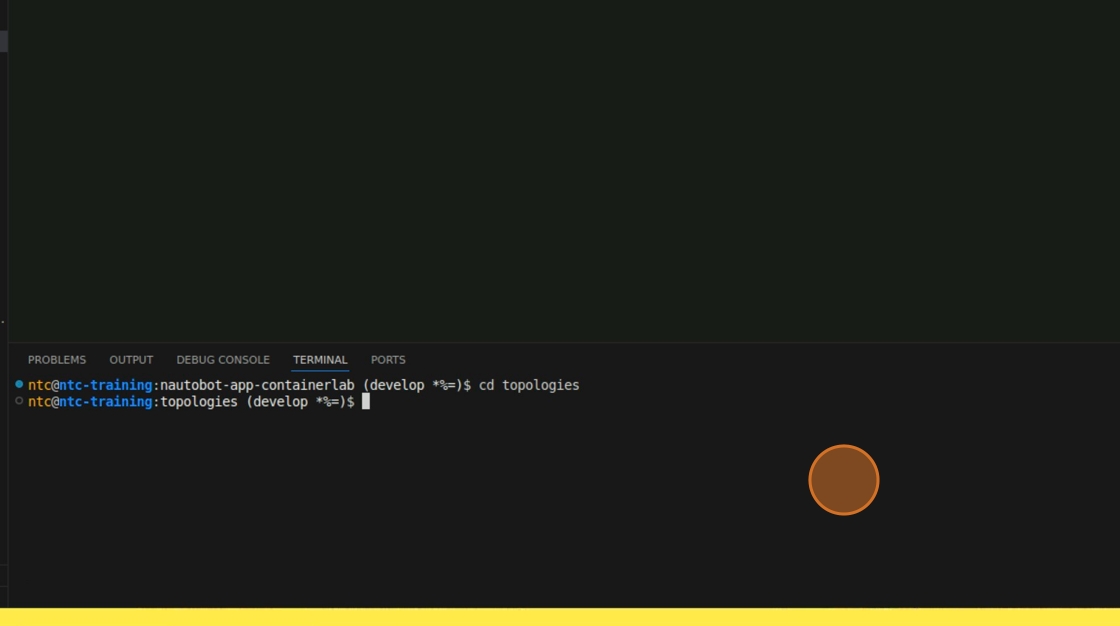
6. Type cd topologies and press Enter
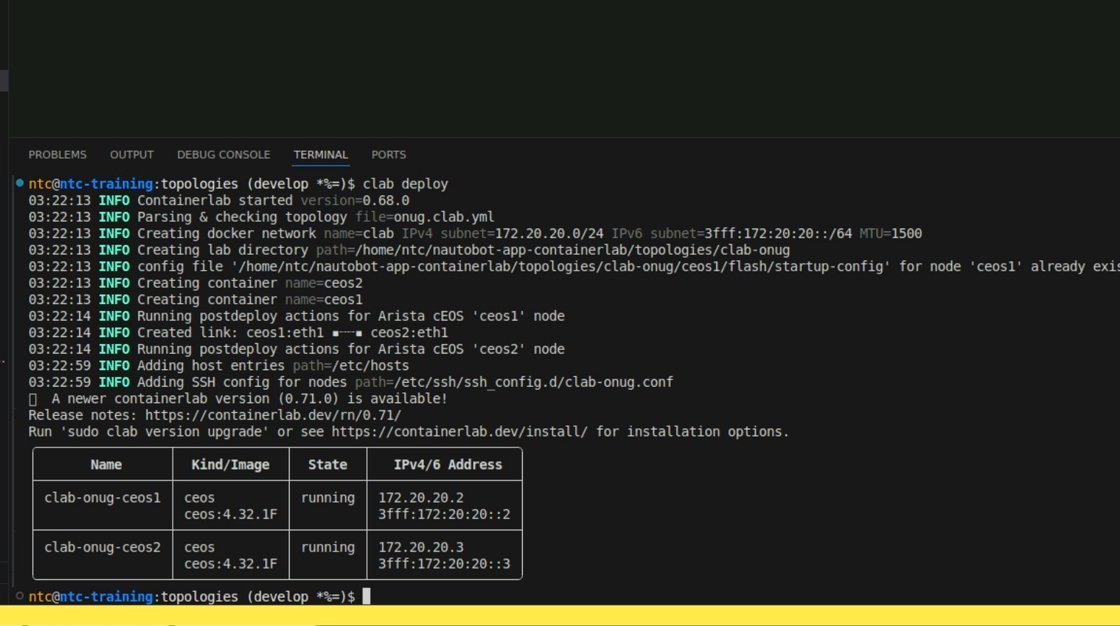
7. Type clab deploy and press Enter. After a few seconds, your lab will be up and running!

8. You can see the details of our host are displayed in the table printed to the terminal. let’s SSH to the node, type ssh admin@clab-onug-ceos1 and press Enter. The default password is admin.
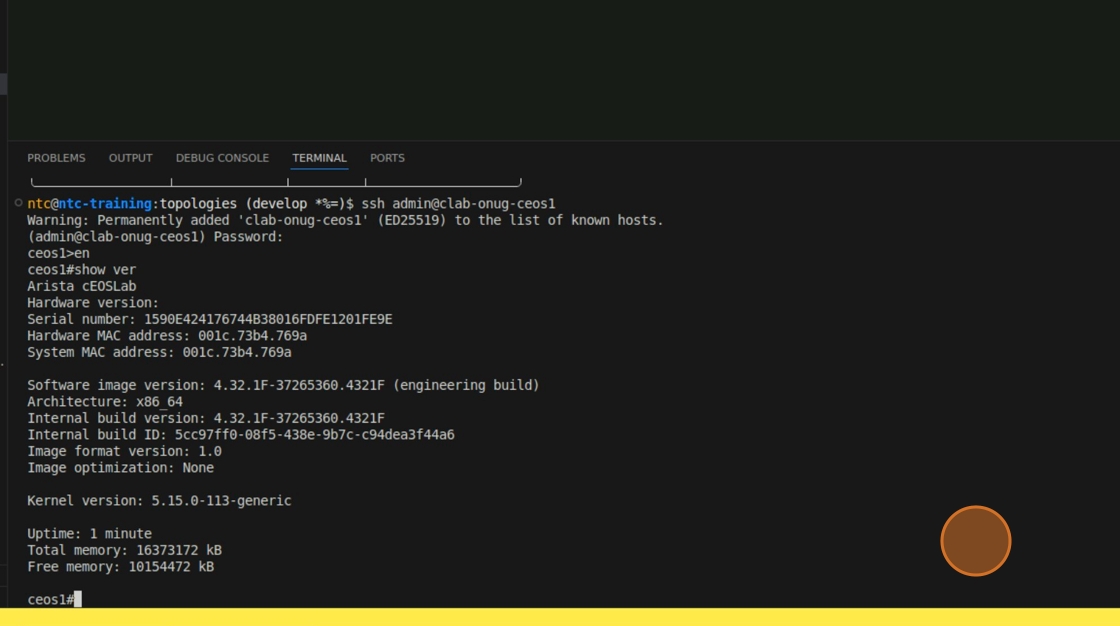
9. let’s poke around our new virtual node
enable
show version
show inventory
show interface status
show ip int brief
show lldp neighbors
show run
10. Once you’re done, exit the SSH session and destroy the topology by typing clab destroy
11. We deployed a single node with no neighbors and no config. Could be useful for practicing CLI commands or testing some automation workflows, but not much else.
12. let’s modify our onug.clab.yml file to include a second node and a link between the two nodes
# onug.clab.yml
---
name: onug
topology:
  kinds:
    ceos:
      image: ceos:4.32.1F
  nodes:
    ceos1:
      kind: ceos
    ceos2:
      kind: ceos
  links:
  - endpoints:
    - ceos1:eth1
    - ceos2:eth1

13. Make sure to save once you’re done!
14. In your terminal, type clab deploy and press Enter. After a few seconds, the new lab will be up and running.
15. Let’s SSH into the two devices and see what has changed. Take a look at your interfaces and LLDP neighbors again.
enable
show interface status
show lldp neighbors

16. Now, from here, we could manually apply configurations to the nodes and run some cli commands to validate their operational state, but this is an automation workshop so let’s use some automation to do that for us instead.
17. Go ahead and exit the SSH session and destroy the topology by typing clab destroy
Containerlab documentation may be found at https://containerlab.dev/
| ⬅️ Previous | 🏠 Home | Next ➡️ |