Lab 4: Manage configurations with Golden Config
Part 1. Config Management with Golden Config
We already setup Golden Config back in Lab 2, but let’s take a closer look at all of the features the app has to offer.
Backing Up Configurations
1. Navigate back to Nautobot in your browser

2. Click the Nautobot logo to go to the home page
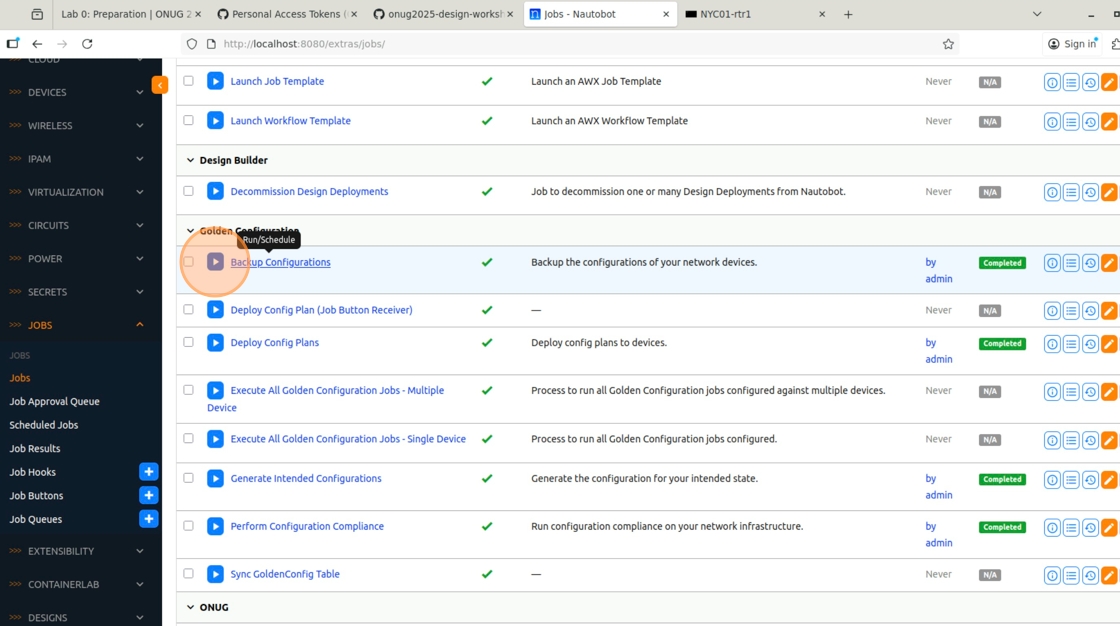
3. In the left navbar, click “Jobs -> Jobs”

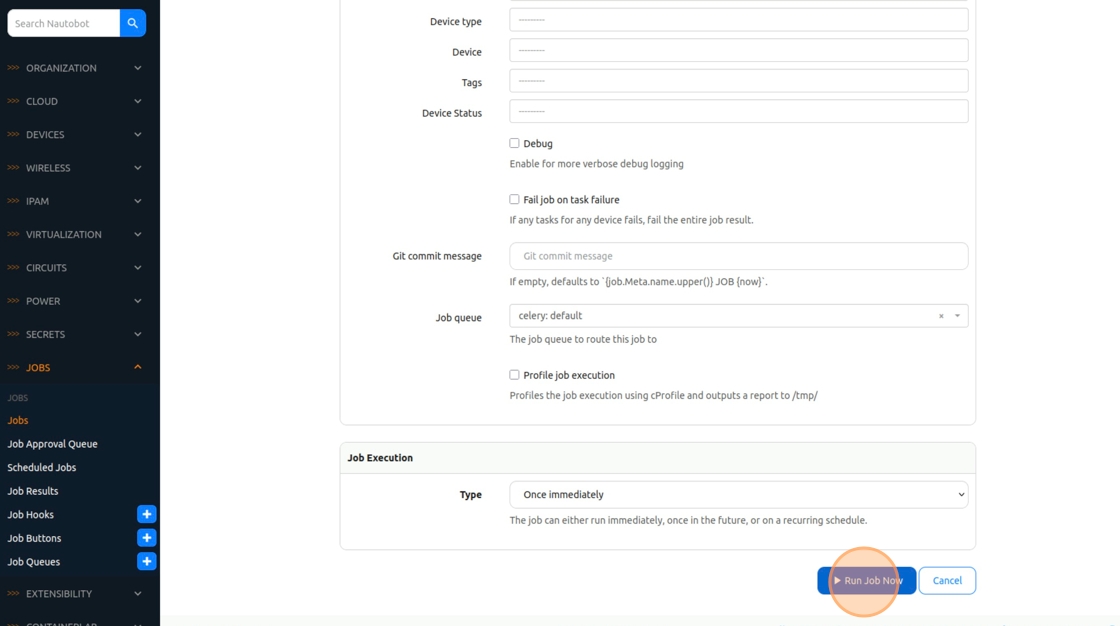
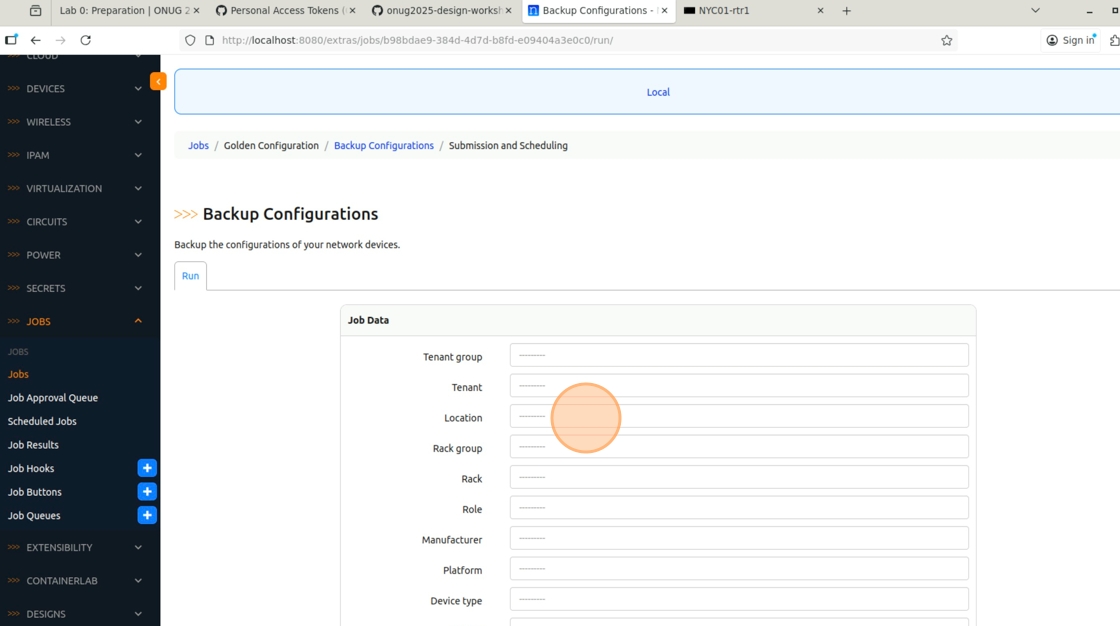
4. Run the “Backup Configurations” Job
 5
5
5. Click on location to filter down the target devices

6. Select “United States -> NYC01”

7. Click “Run Job Now”
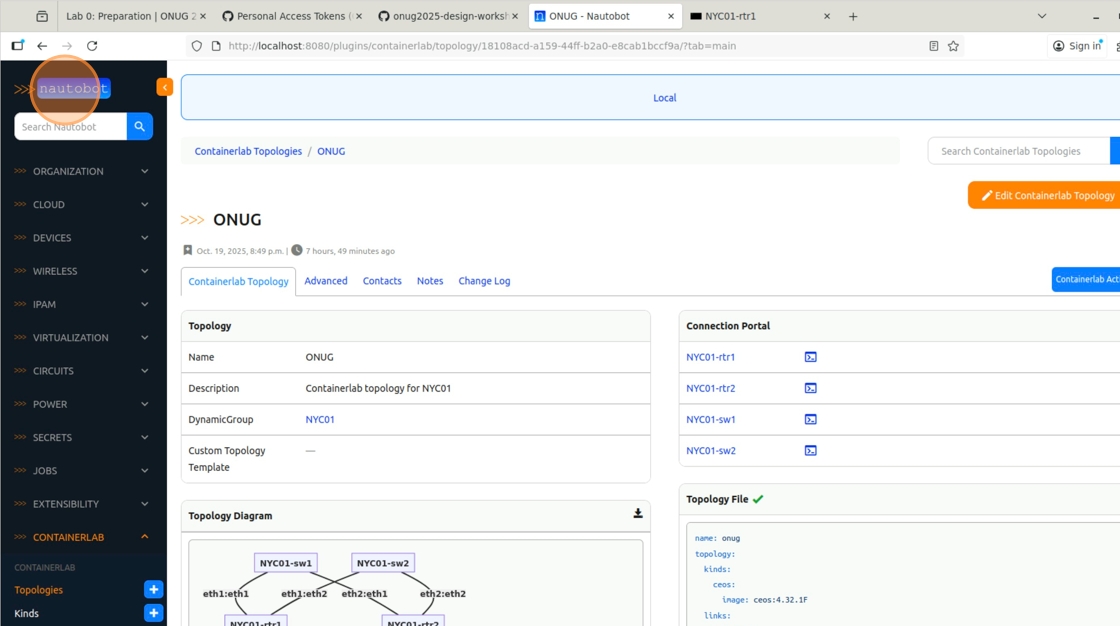
8. Once the job has completed, navigate to the tab in your browser that has the workshop GitHub repo

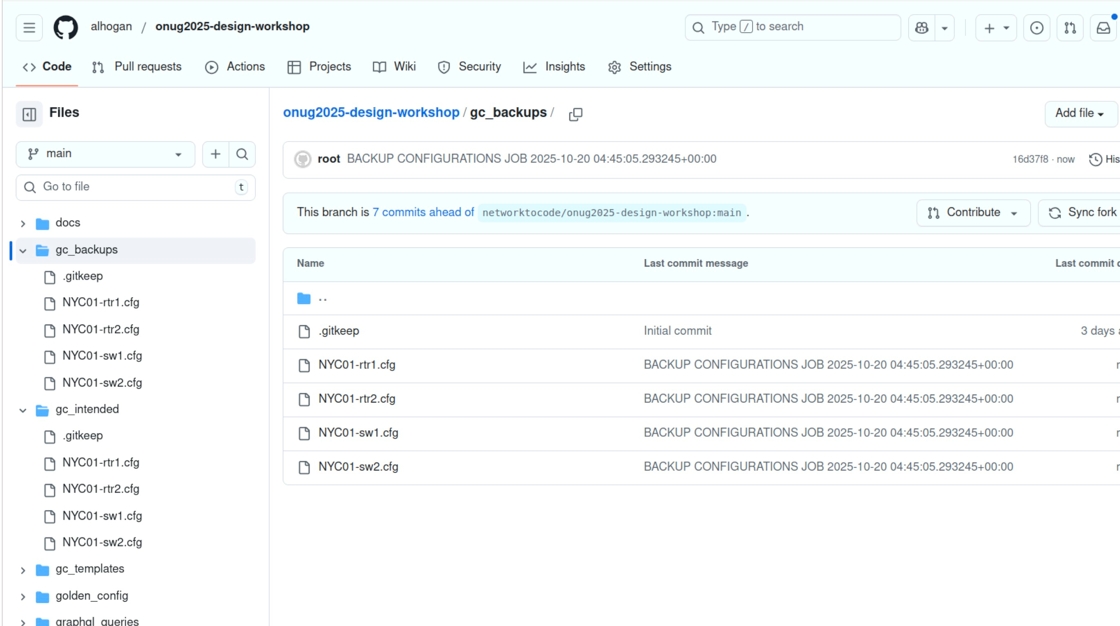
9. Click “gc_backups”

10. Configurations have been stored here
Generating an Intended Config
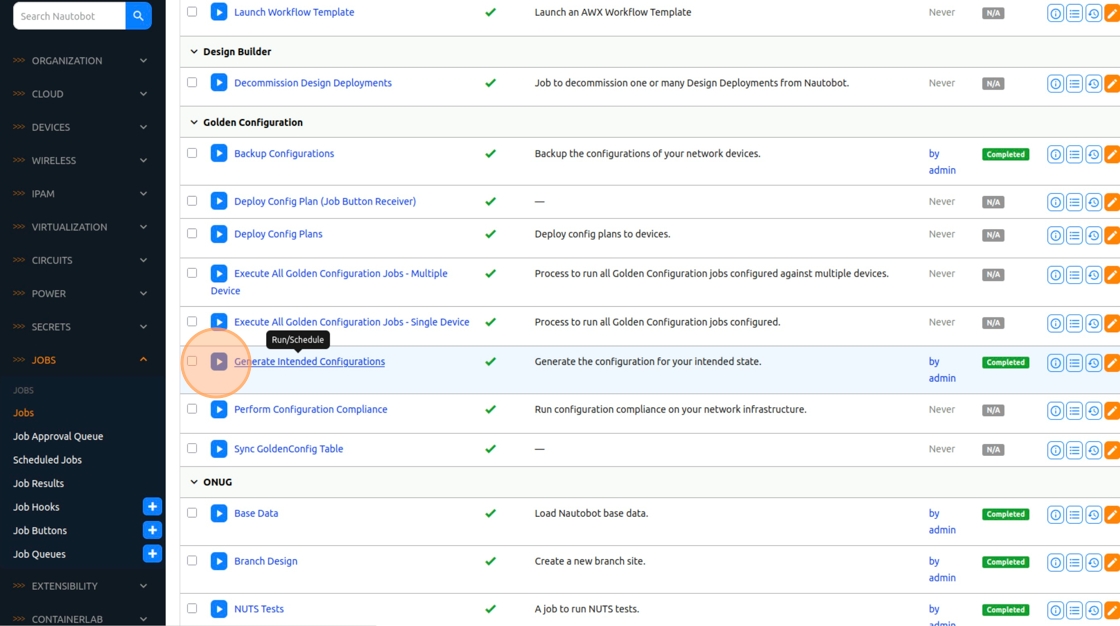
11. Back to the Nautobot tab, click “Jobs”

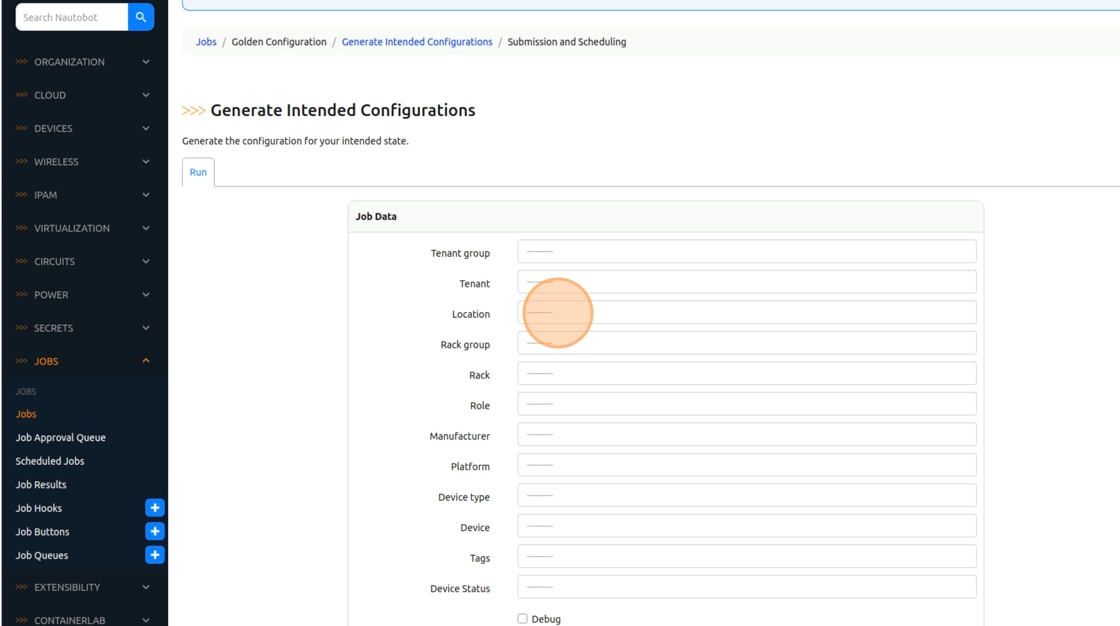
12. Run the “Generate Intended Configurations” Job
13. Click the “Location” field
14. Select “United States -> NYC01”
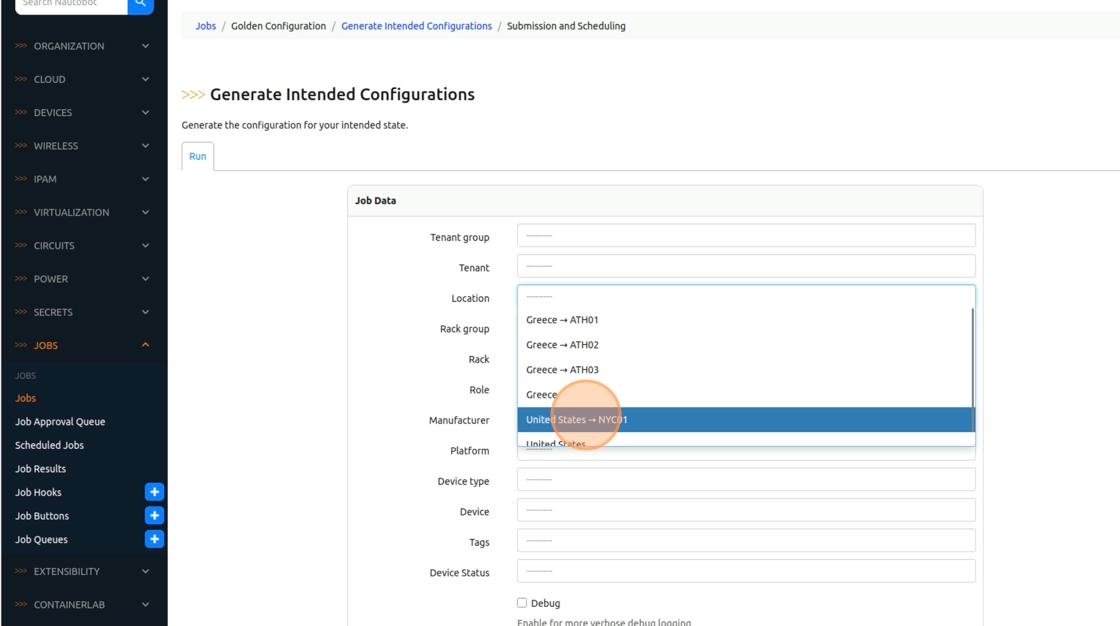
15. Click “Run Job Now”

16. In the browser, navigate to the tab that has the GitHub repo
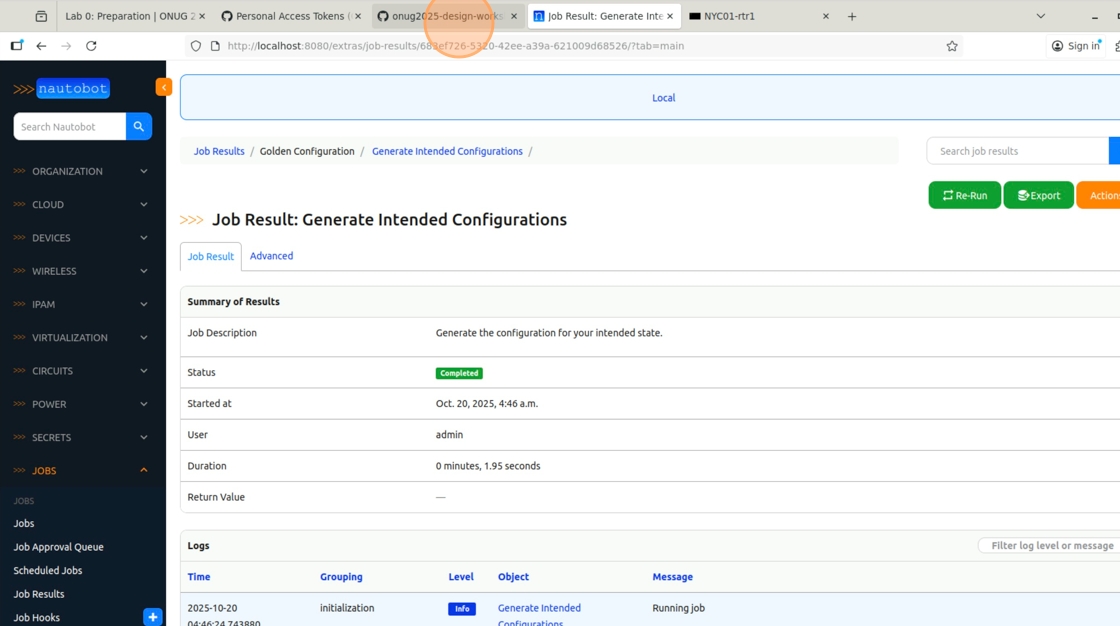
17. Click the “gc_intended” folder

18. Intended configurations have been stored here. Don’t be alarmed if the “Last commit date” hasn’t change. This just means nothing has change in that file.

Running a Configuration Compliance Report
19. Back to the Nautobot tab, click “Jobs” once again

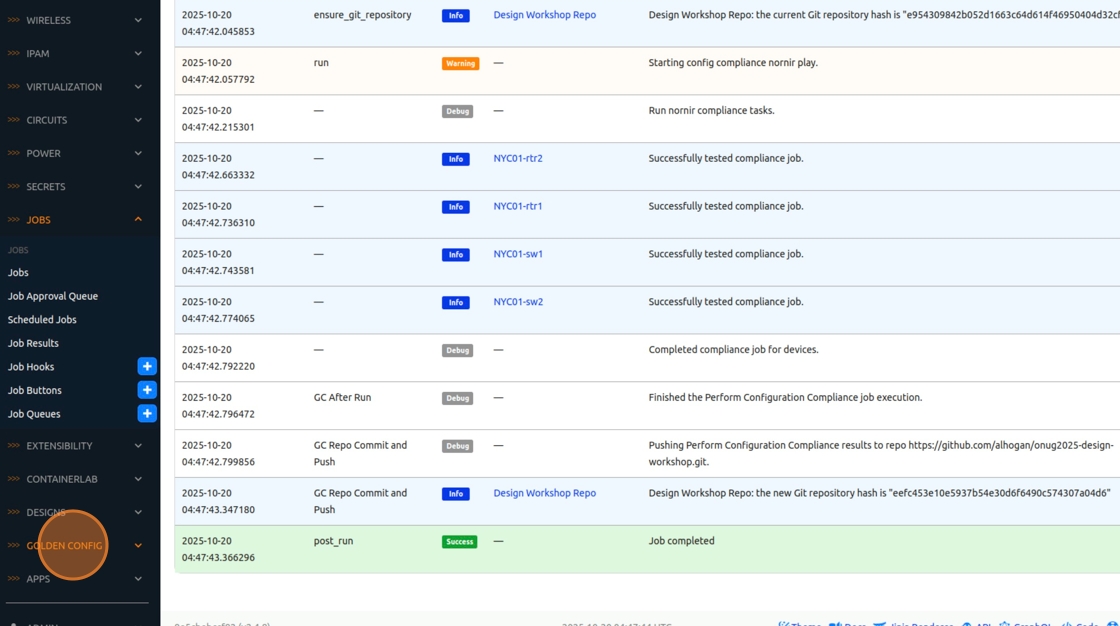
20. This time, we’ll be running the “Perform Configuration Compliance” Job. This Job will compare the running (backed up) and the intended configuration to see if they match or if they differ. Run the Job.

21. Click the “Location” field.

22. Select “United States -> NYC01”
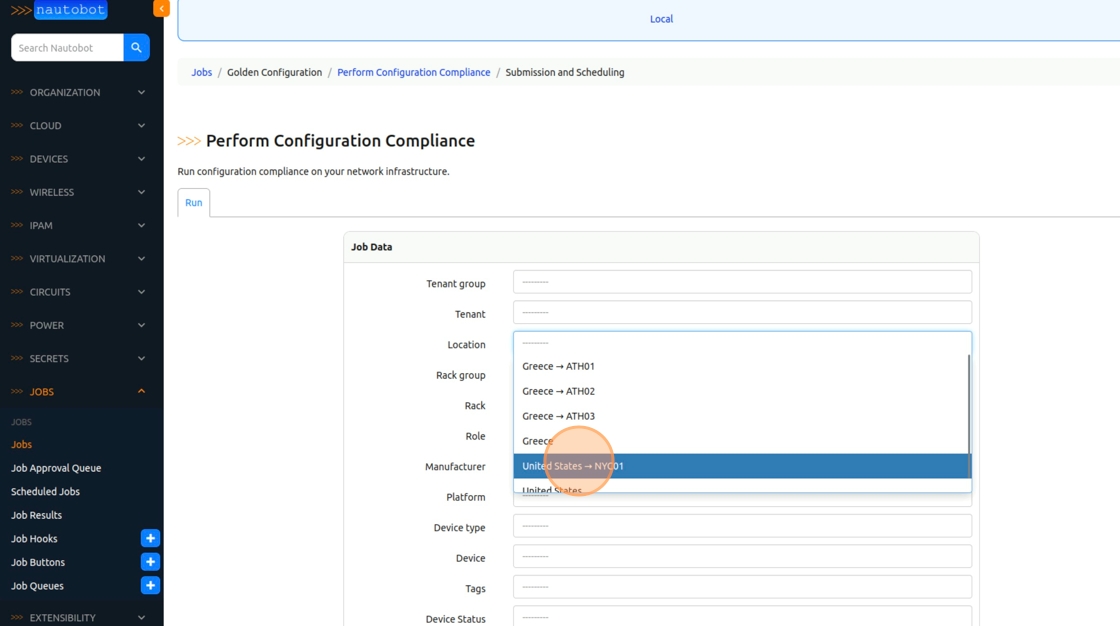
23. Click “Run Job Now”

24. To see the compliance report, click “Golden Config” in the left navbar
25. Then click “Config Compliance”

26. The results are presented in this matrix in a per feature per device manner. Looks like interfaces are out of compliance on all of the devices.
27. To get a more detailed view, click on one of the devices

28. You’re taken to the device compliance view where you can see specific information for the device, split by compliance feature.
Note: You may ask “Why is Banner compliant if there is no configuration?”. Well the answer is that both the device and the intended configuration that was render did not have a banner configured. So technically we validated that the banner was not configured as intended.

29. Click on the “Device” tab. On the right side of the page, locate the “Configuration Types” panel. Here you may find links to the device’s backup, intended, compliance, and aggregated data. These are the versions that are stored in the database when the Jobs are ran. GitHub maintains the historical versions that can be used to track changes over time.

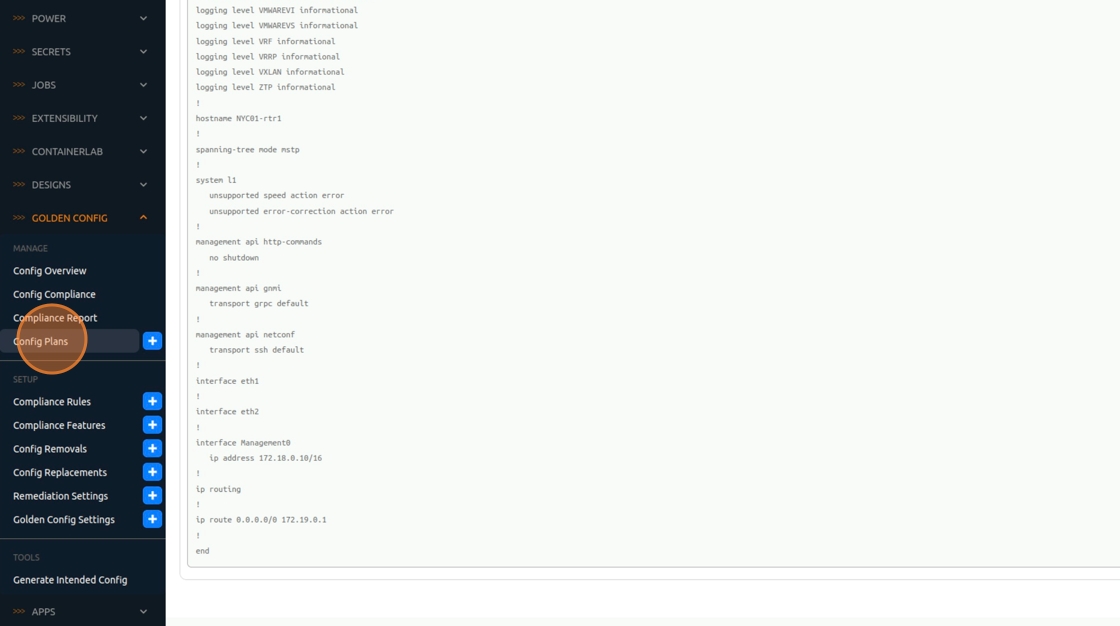
30. Click on the “Actual” icon to see the running configuration of the device

31. You’re presented with the running configuration of the device that we backed up a few steps before. But wait! This device doesn’t have a banner or interfaces configured!

Generating a Config Plan for Remediation
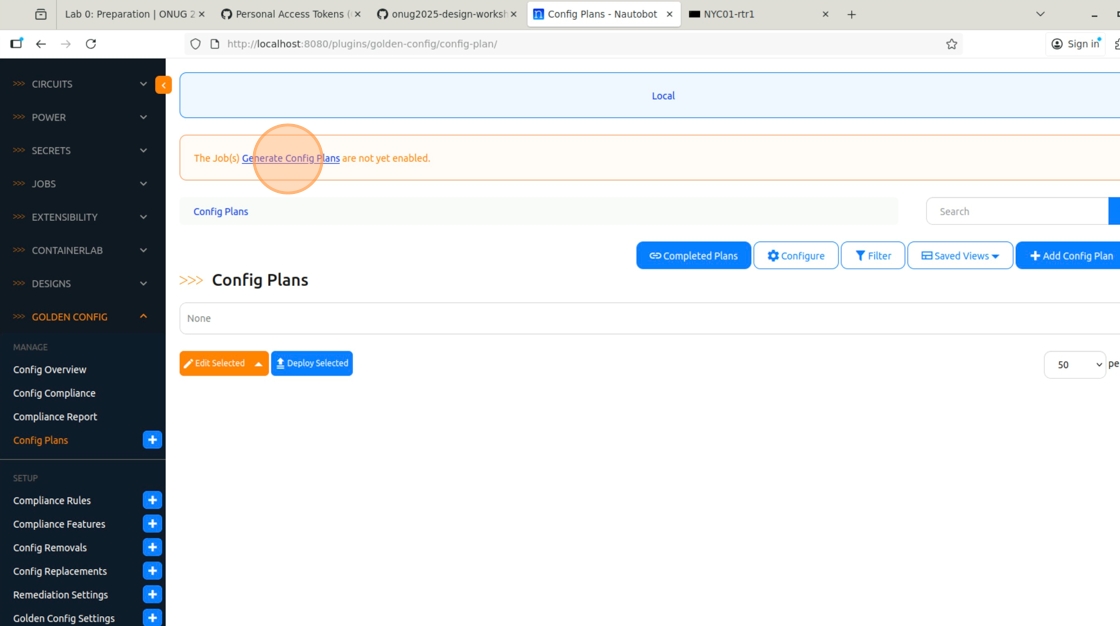
32. To fix this, click “Config Plans” in the left navbar
33. Click “Generate Config Plans” to enable the relevant Job
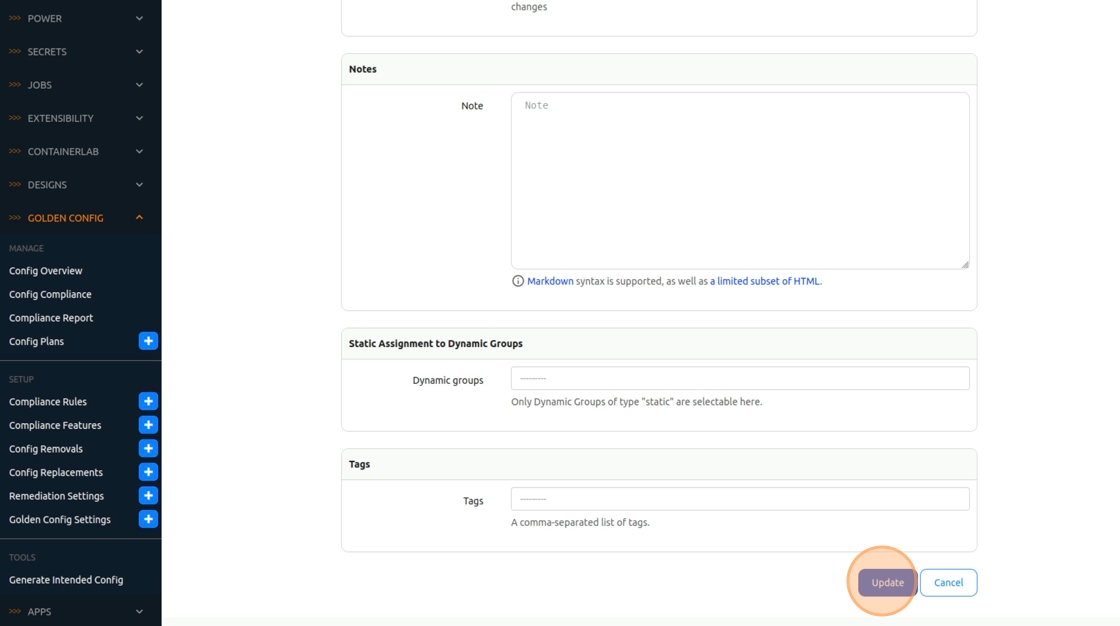
34. Click the “Enabled” field.

35. Click “Update”
36. Click “Config Plans” again

37. Click “Add Config Plan”

38. For the “Plan Type”, select “Manual”
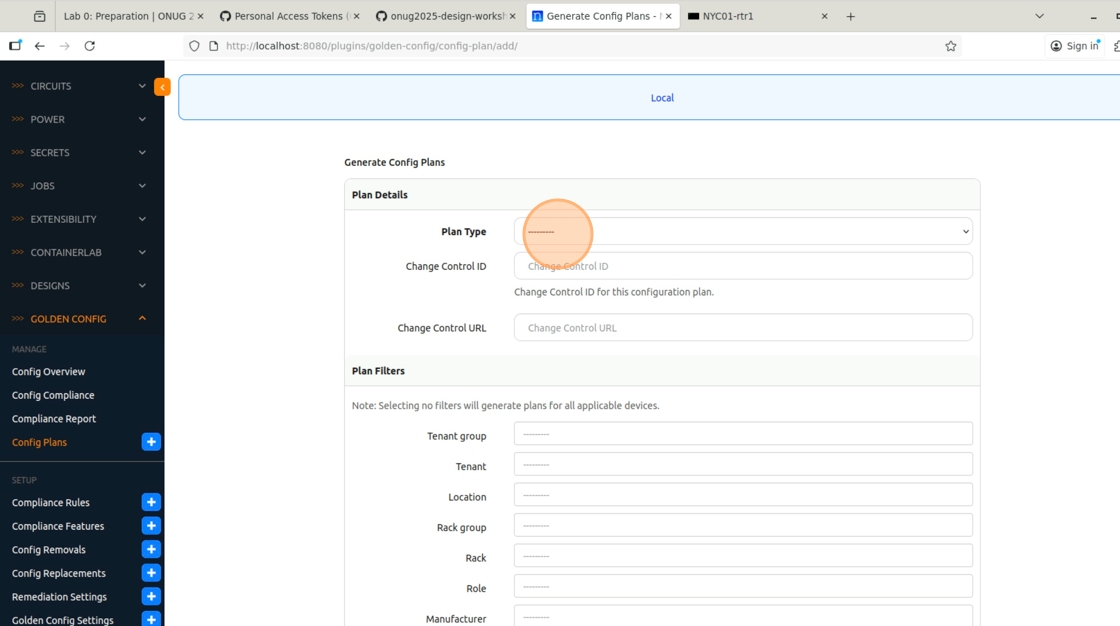
39. In the “Commands” field, type the configuration to create a banner
banner login
Hello!
EOF
!

40. Click the “Location”, Select “United States -> NYC01”

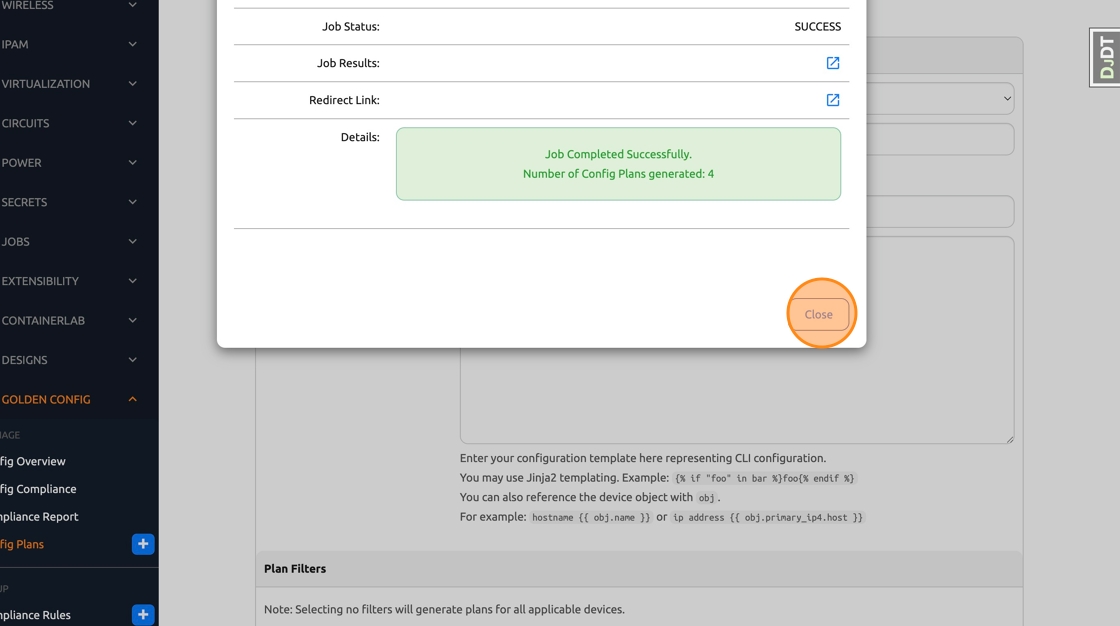
41. Click “Generate”

42. Four plans were generated, one per device in scope. Click “Close”
Approving a Config Plan for Deployment
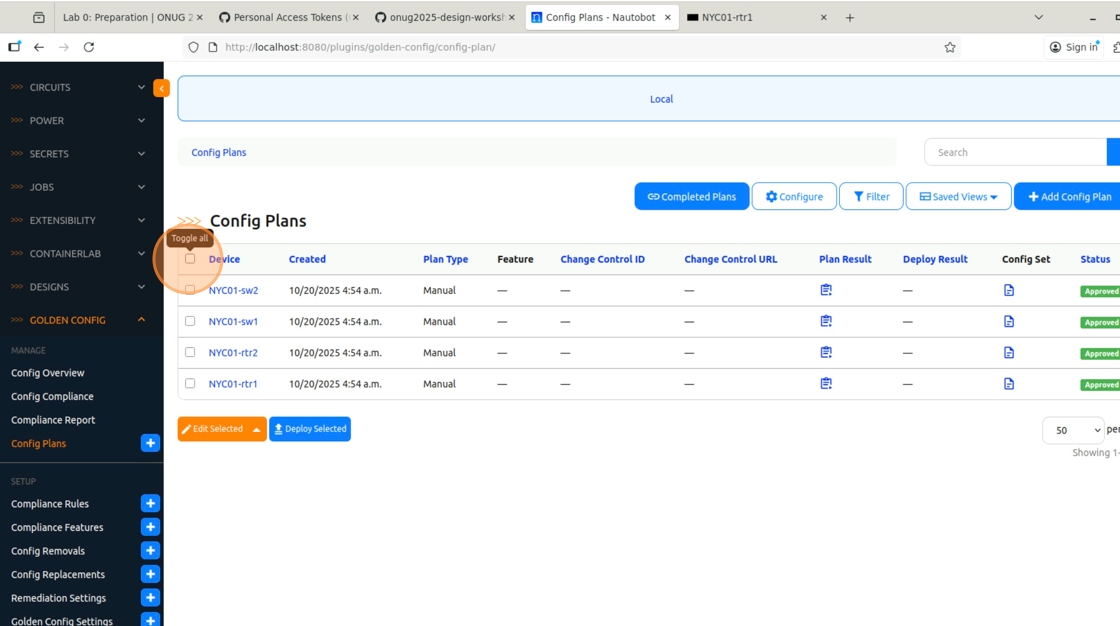
43. Click “Config Plans”

44. Click this checkbox to select all four plans
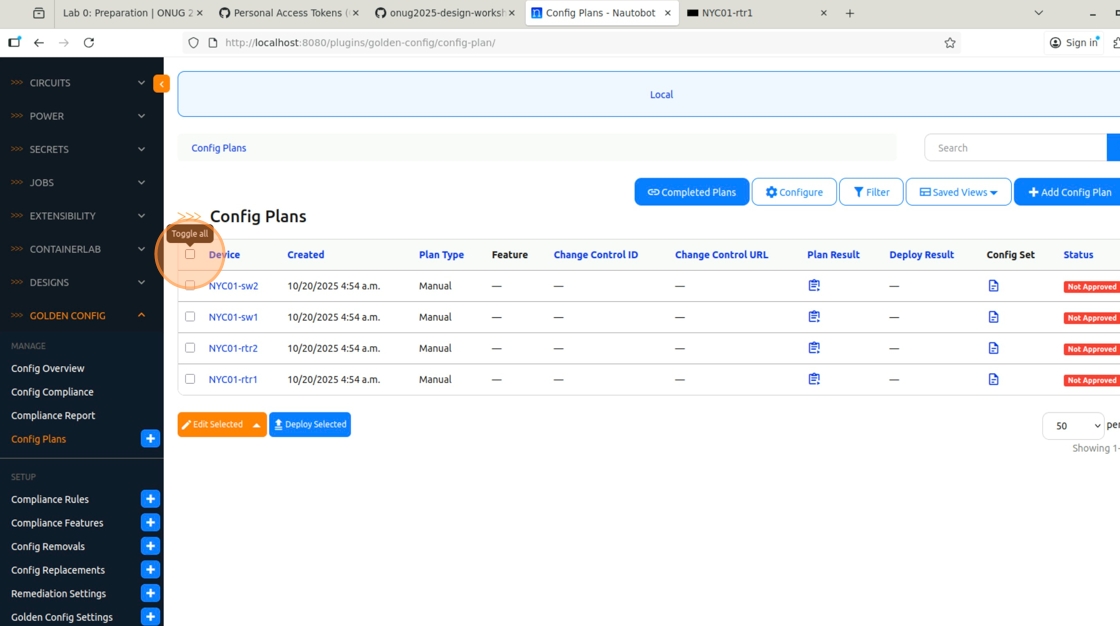
45. Click “Edit Selected”

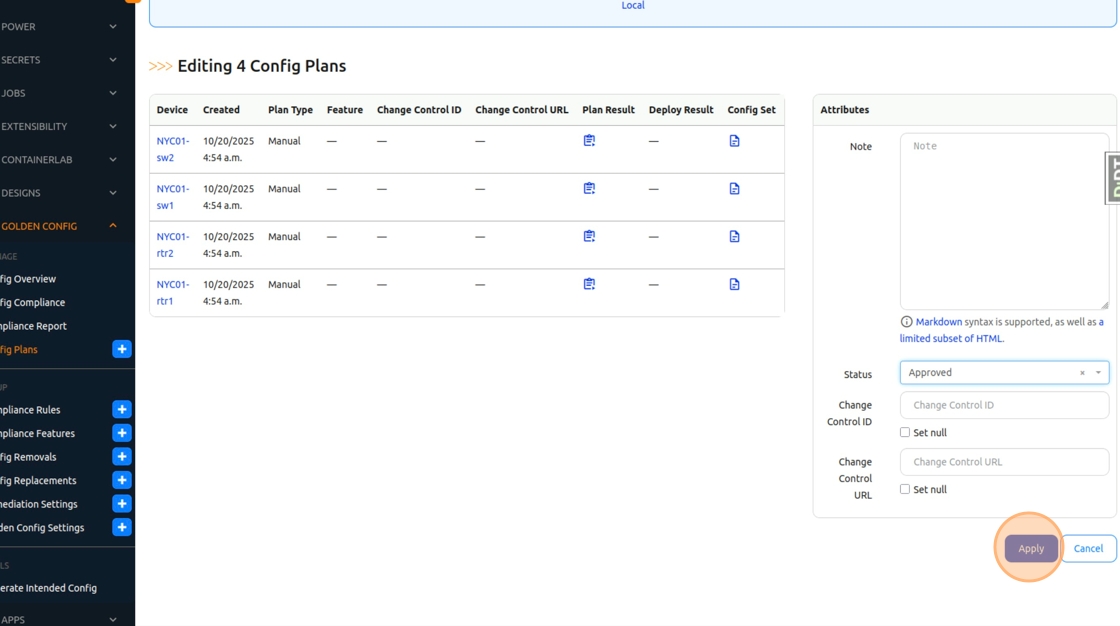
46. Click “Status”

47. Select “Approved”

48. Click “Apply”
Deploying a Config Plan
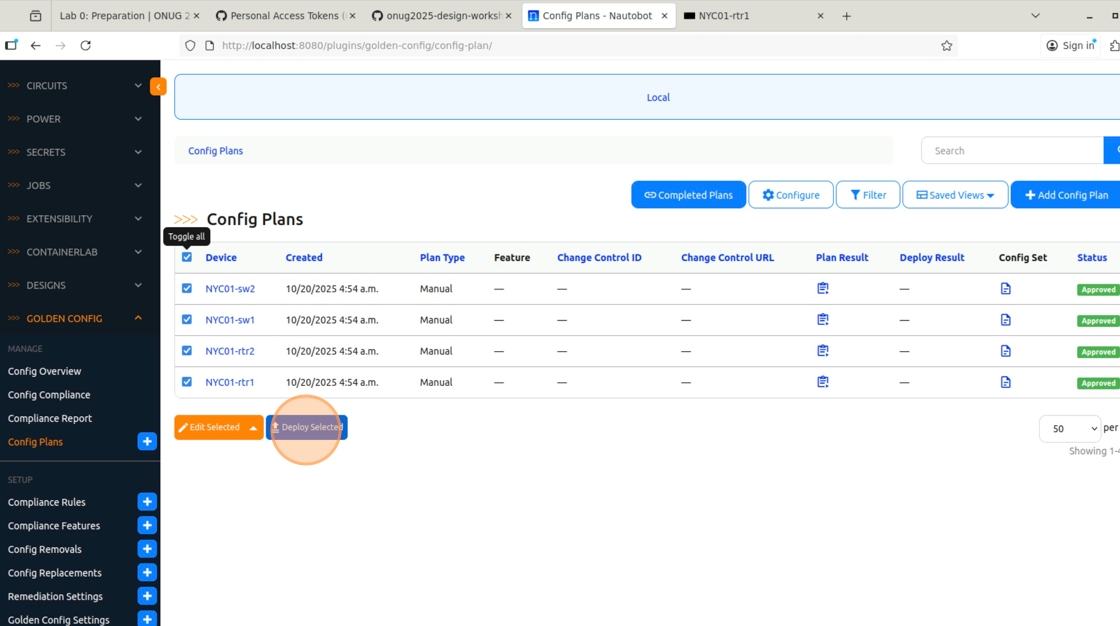
49. Click “Config Plans”

50. Click this checkbox.
51. Click “Deploy Selected”
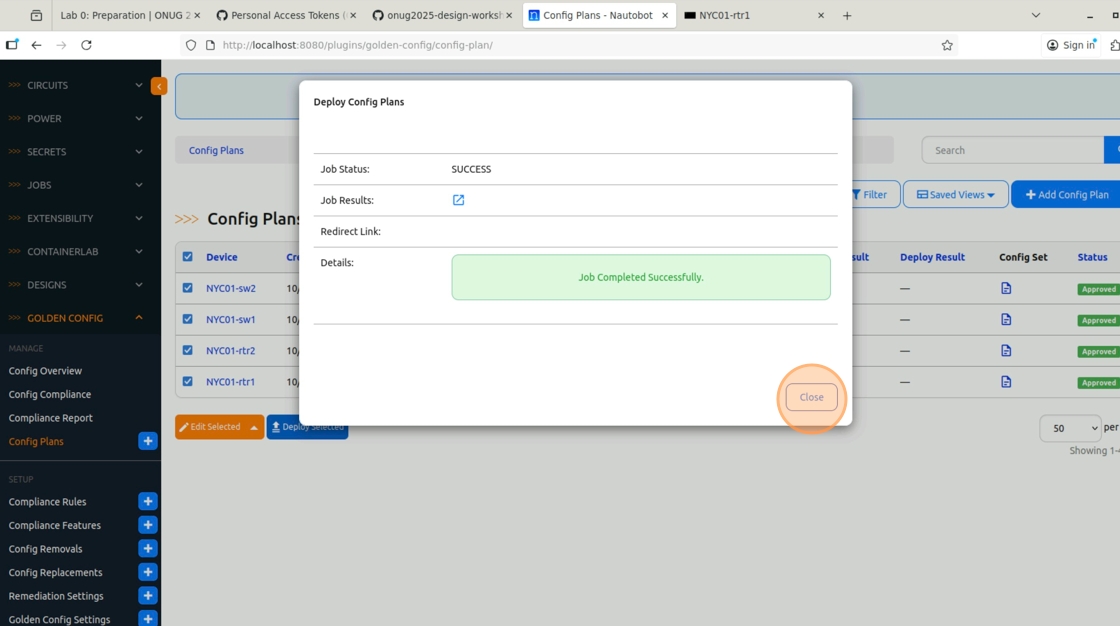
52. A warning about what this action does will pop up, click “OK”. The deployment Job will now run.

53. Click “Close”
54. Click “Config Plans” or reload the page

55. Since the plans have been successfully deployed, the list is now empty

Validate
56. Let’s take another backup to check what’s going on with the devices. Click “Jobs”

57. Run the “Backup Configurations” Job
58. Click the “Location” field
59. Select “United States -> NYC01”

60. Click “Run Job Now”

61. In the Job Results, click on one of the devices

62. In the device detailed view, locate the “Configuration Types” panel, and click on the “Actual” icon to see the freshly backed up configuration

63. If you scroll a bit, you may see that the banner commands have been successfully applied to the device configuration!

| ⬅️ Previous | 🏠 Home | Next ➡️ |